A collection of noteworthy maintenance and repairs I have completed over the years on my dirt bikes and my dad's, from top-end engine work to carburetor service and clutch replacement.
PERIODMultiple bikes · 2005–2025 models
MY ROLEDiagnosis · Disassembly · Repair · Reassembly
Diagnose and repair mechanical problems across personal and family motocross bikes.
02
How I approached it
Use service procedures, disassembly, component inspection, feeler-gauge measurements, cleaning, and replacement parts across four documented repairs.
03
Result / status
Top-end work, valve adjustments, carburetor overhaul, and clutch replacement documented with repair photos where available.
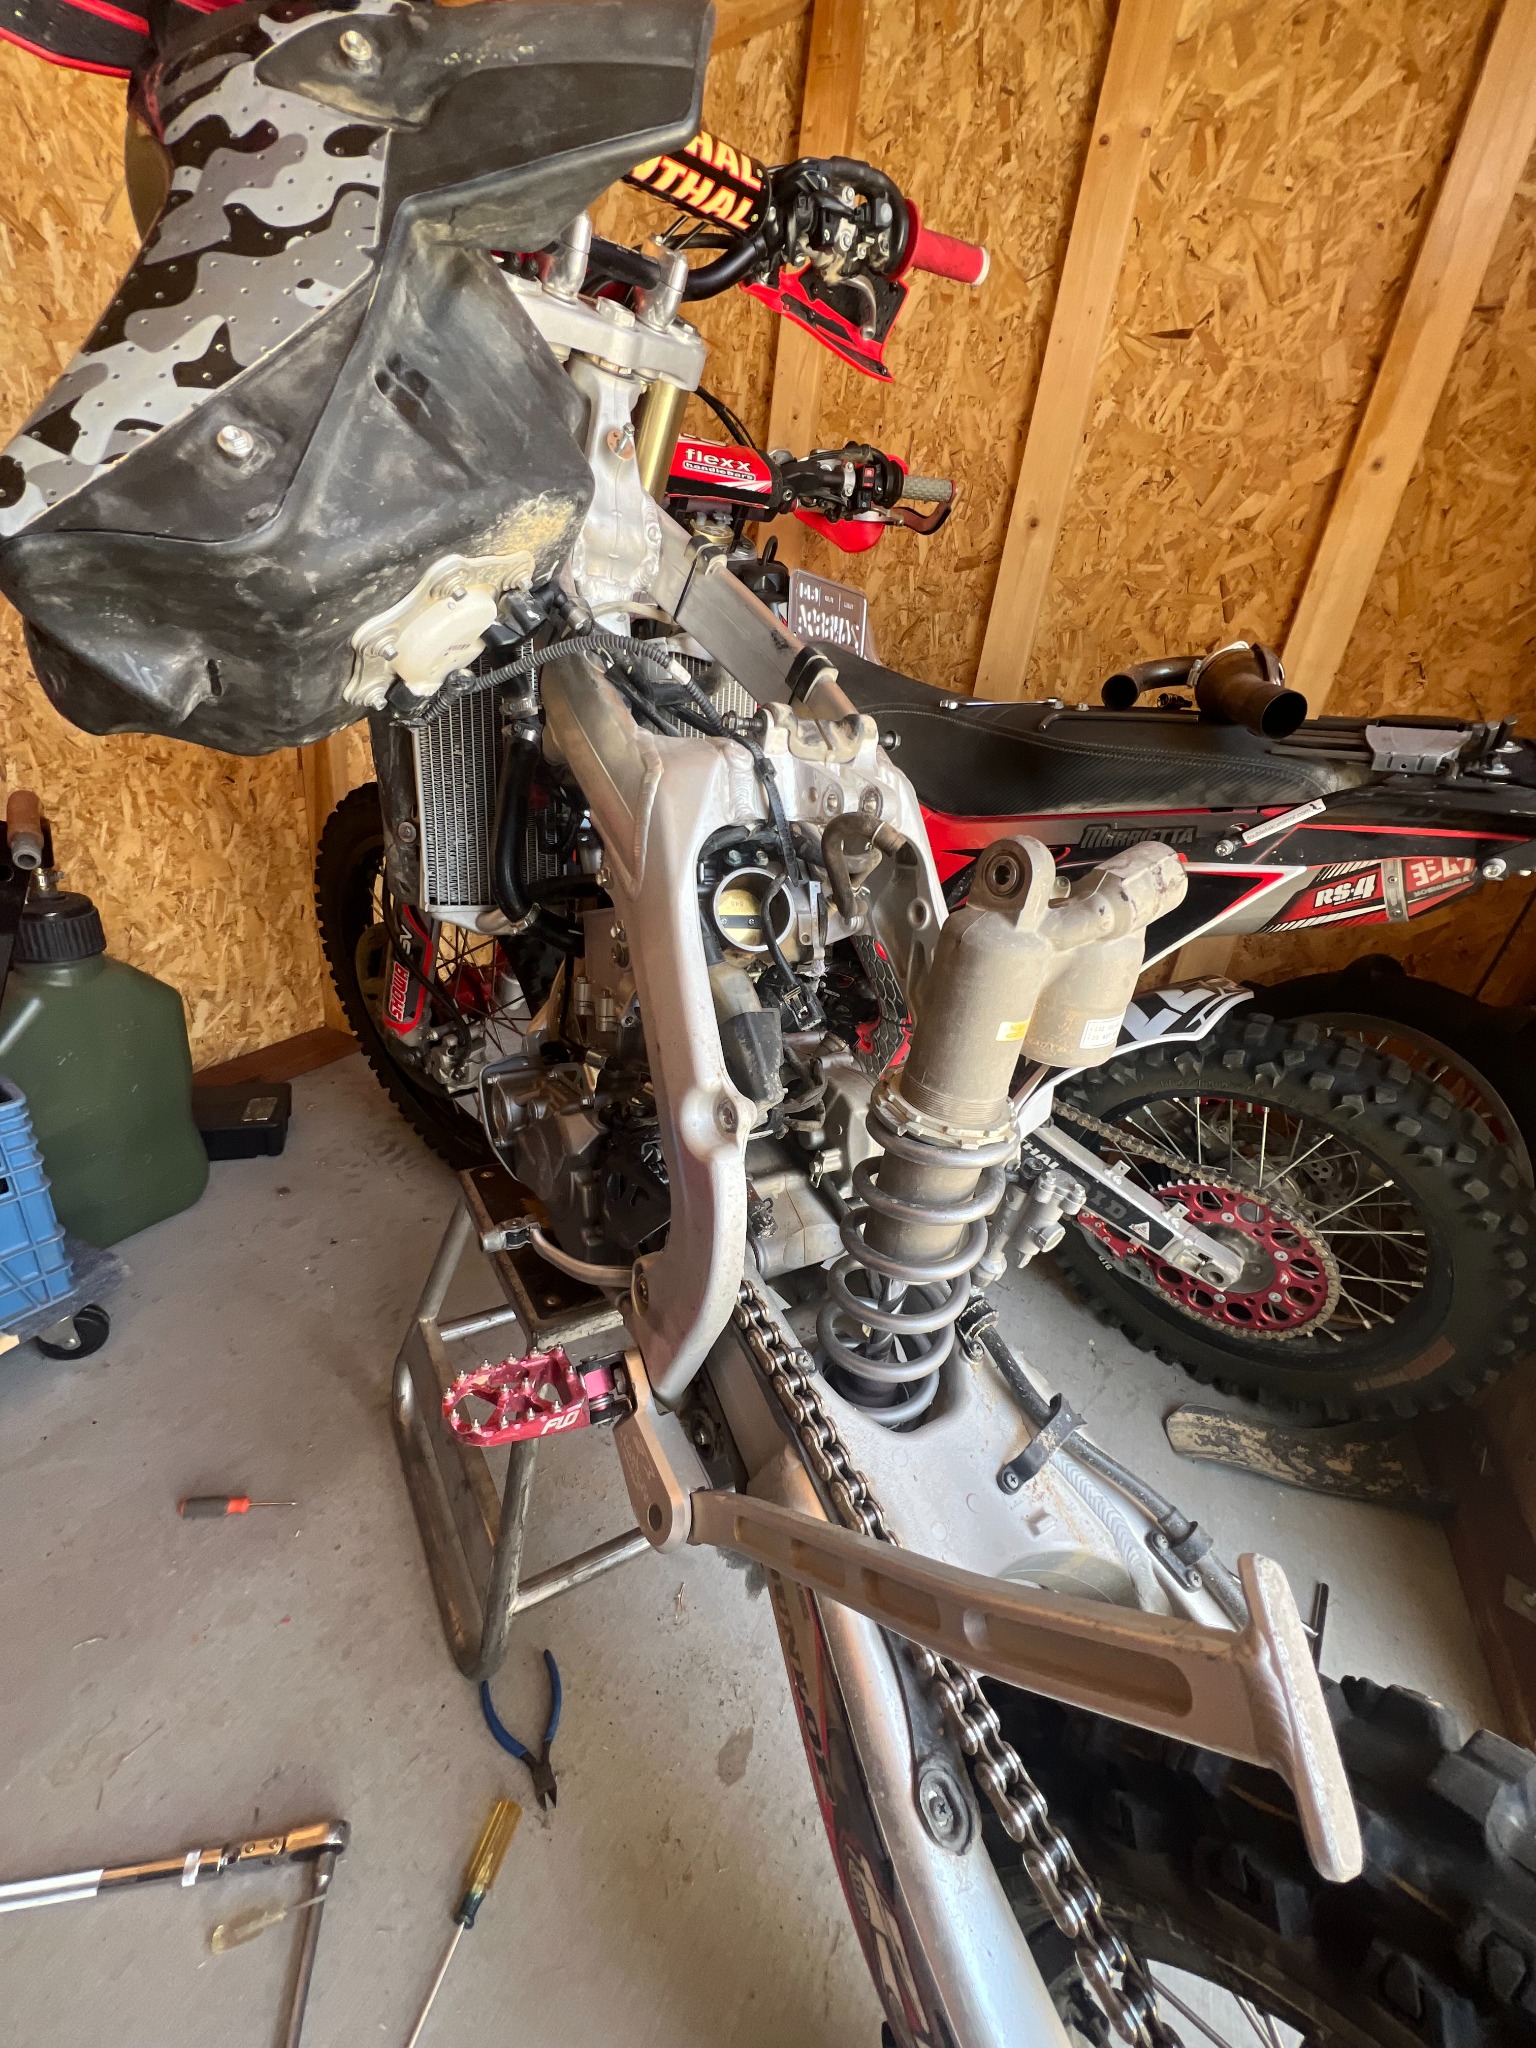
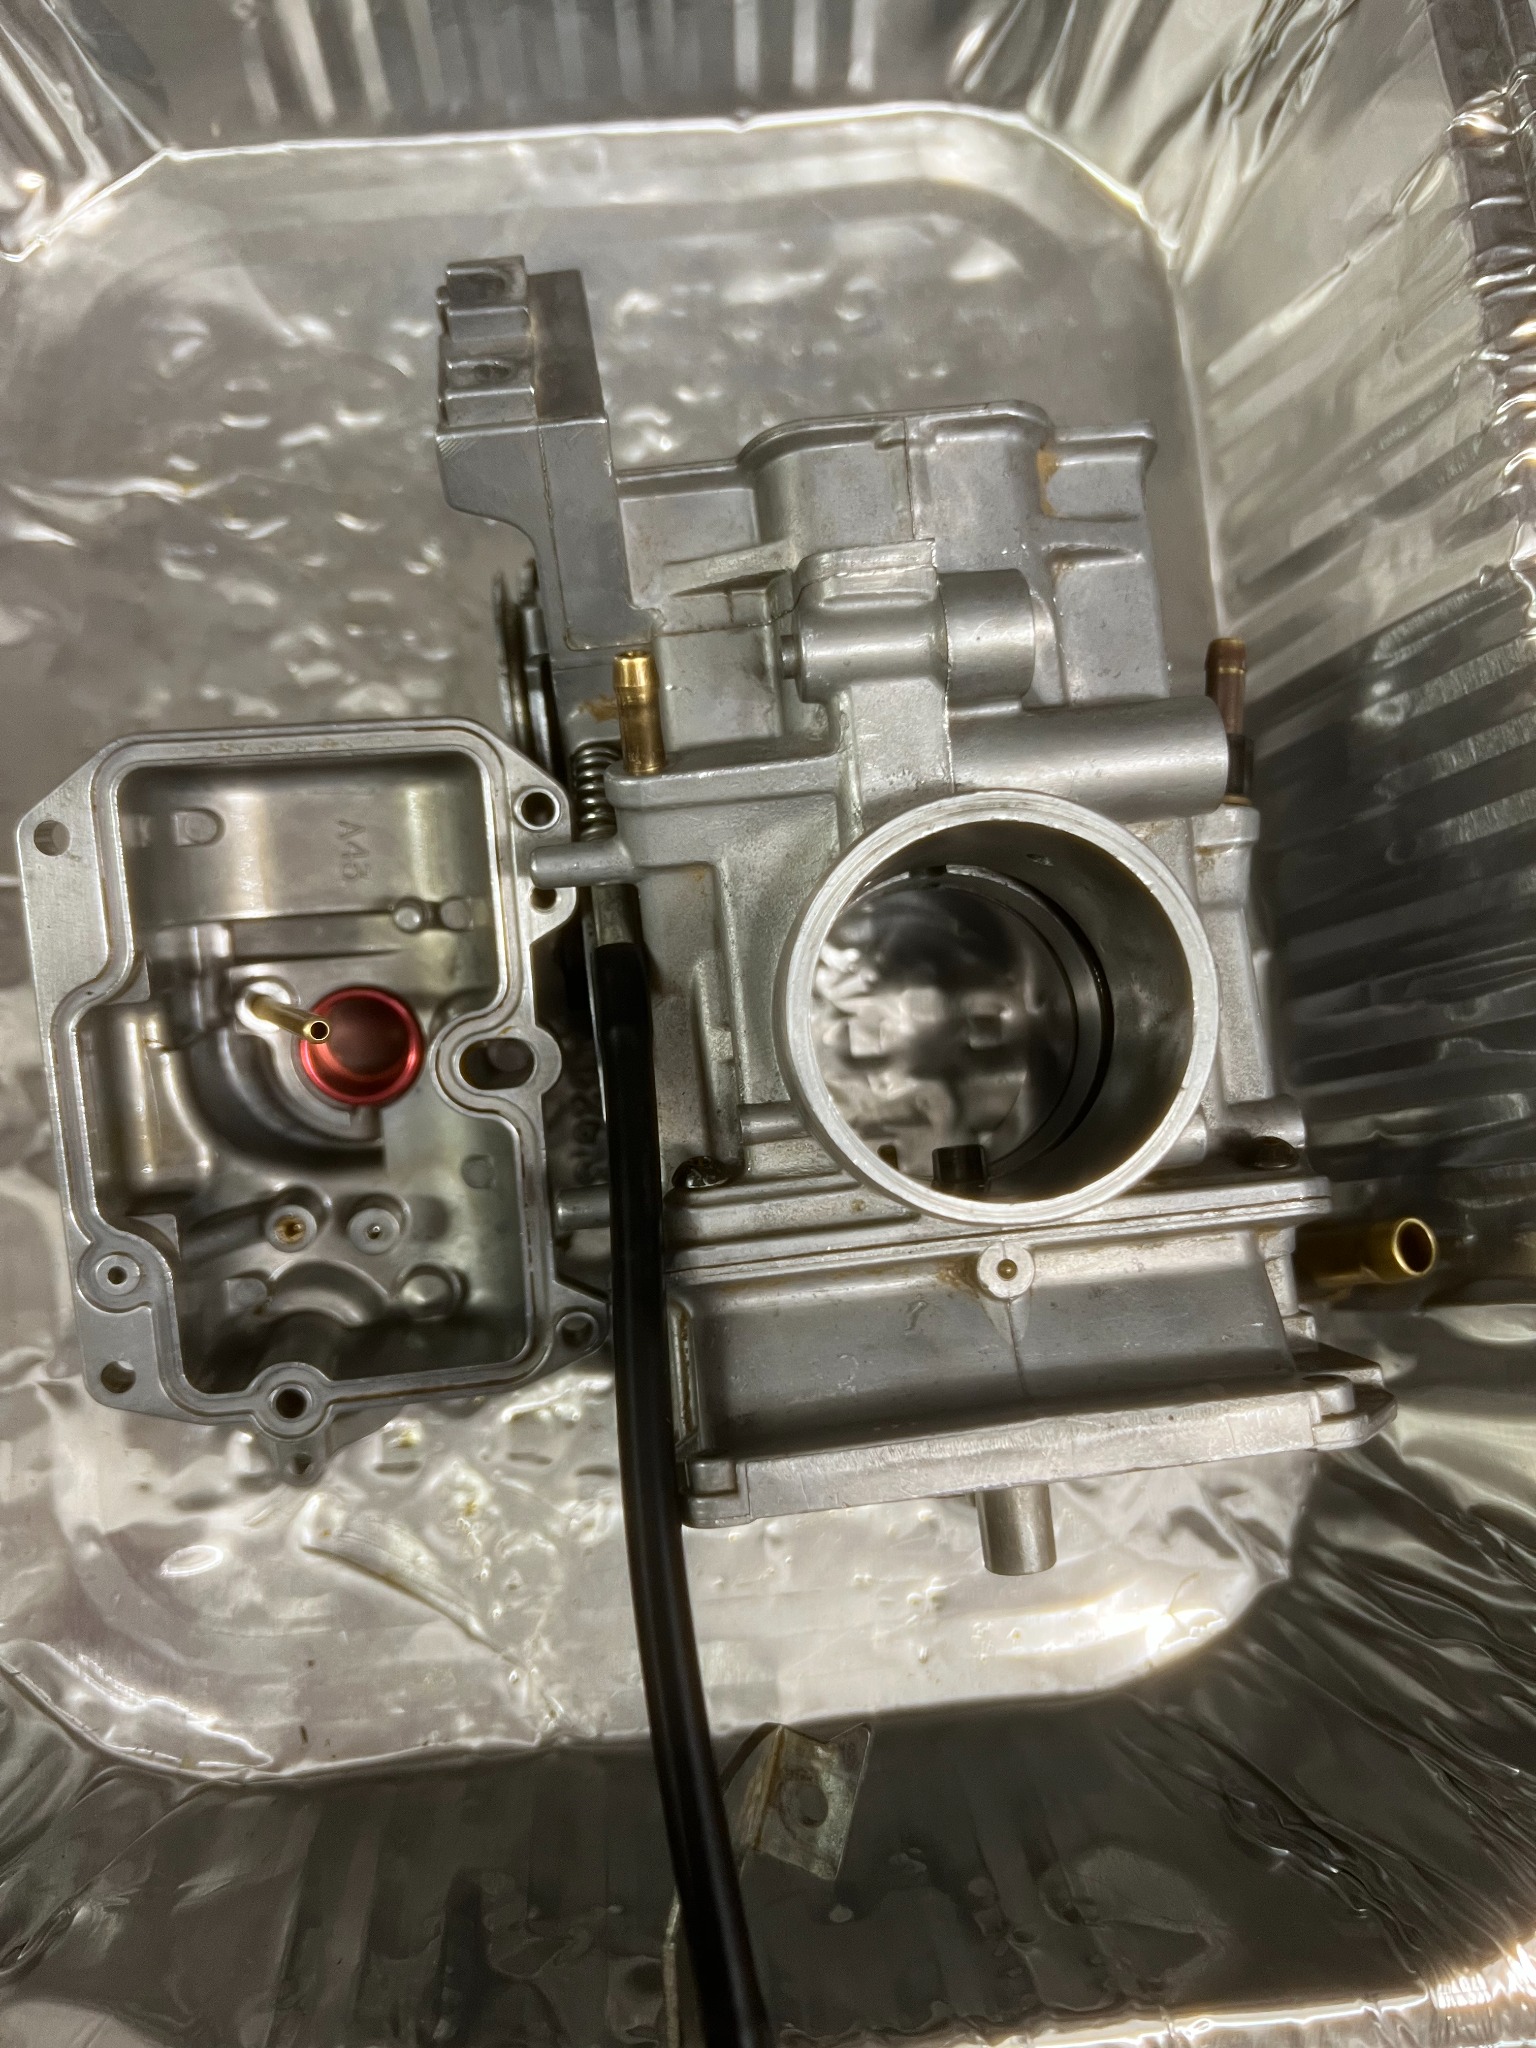
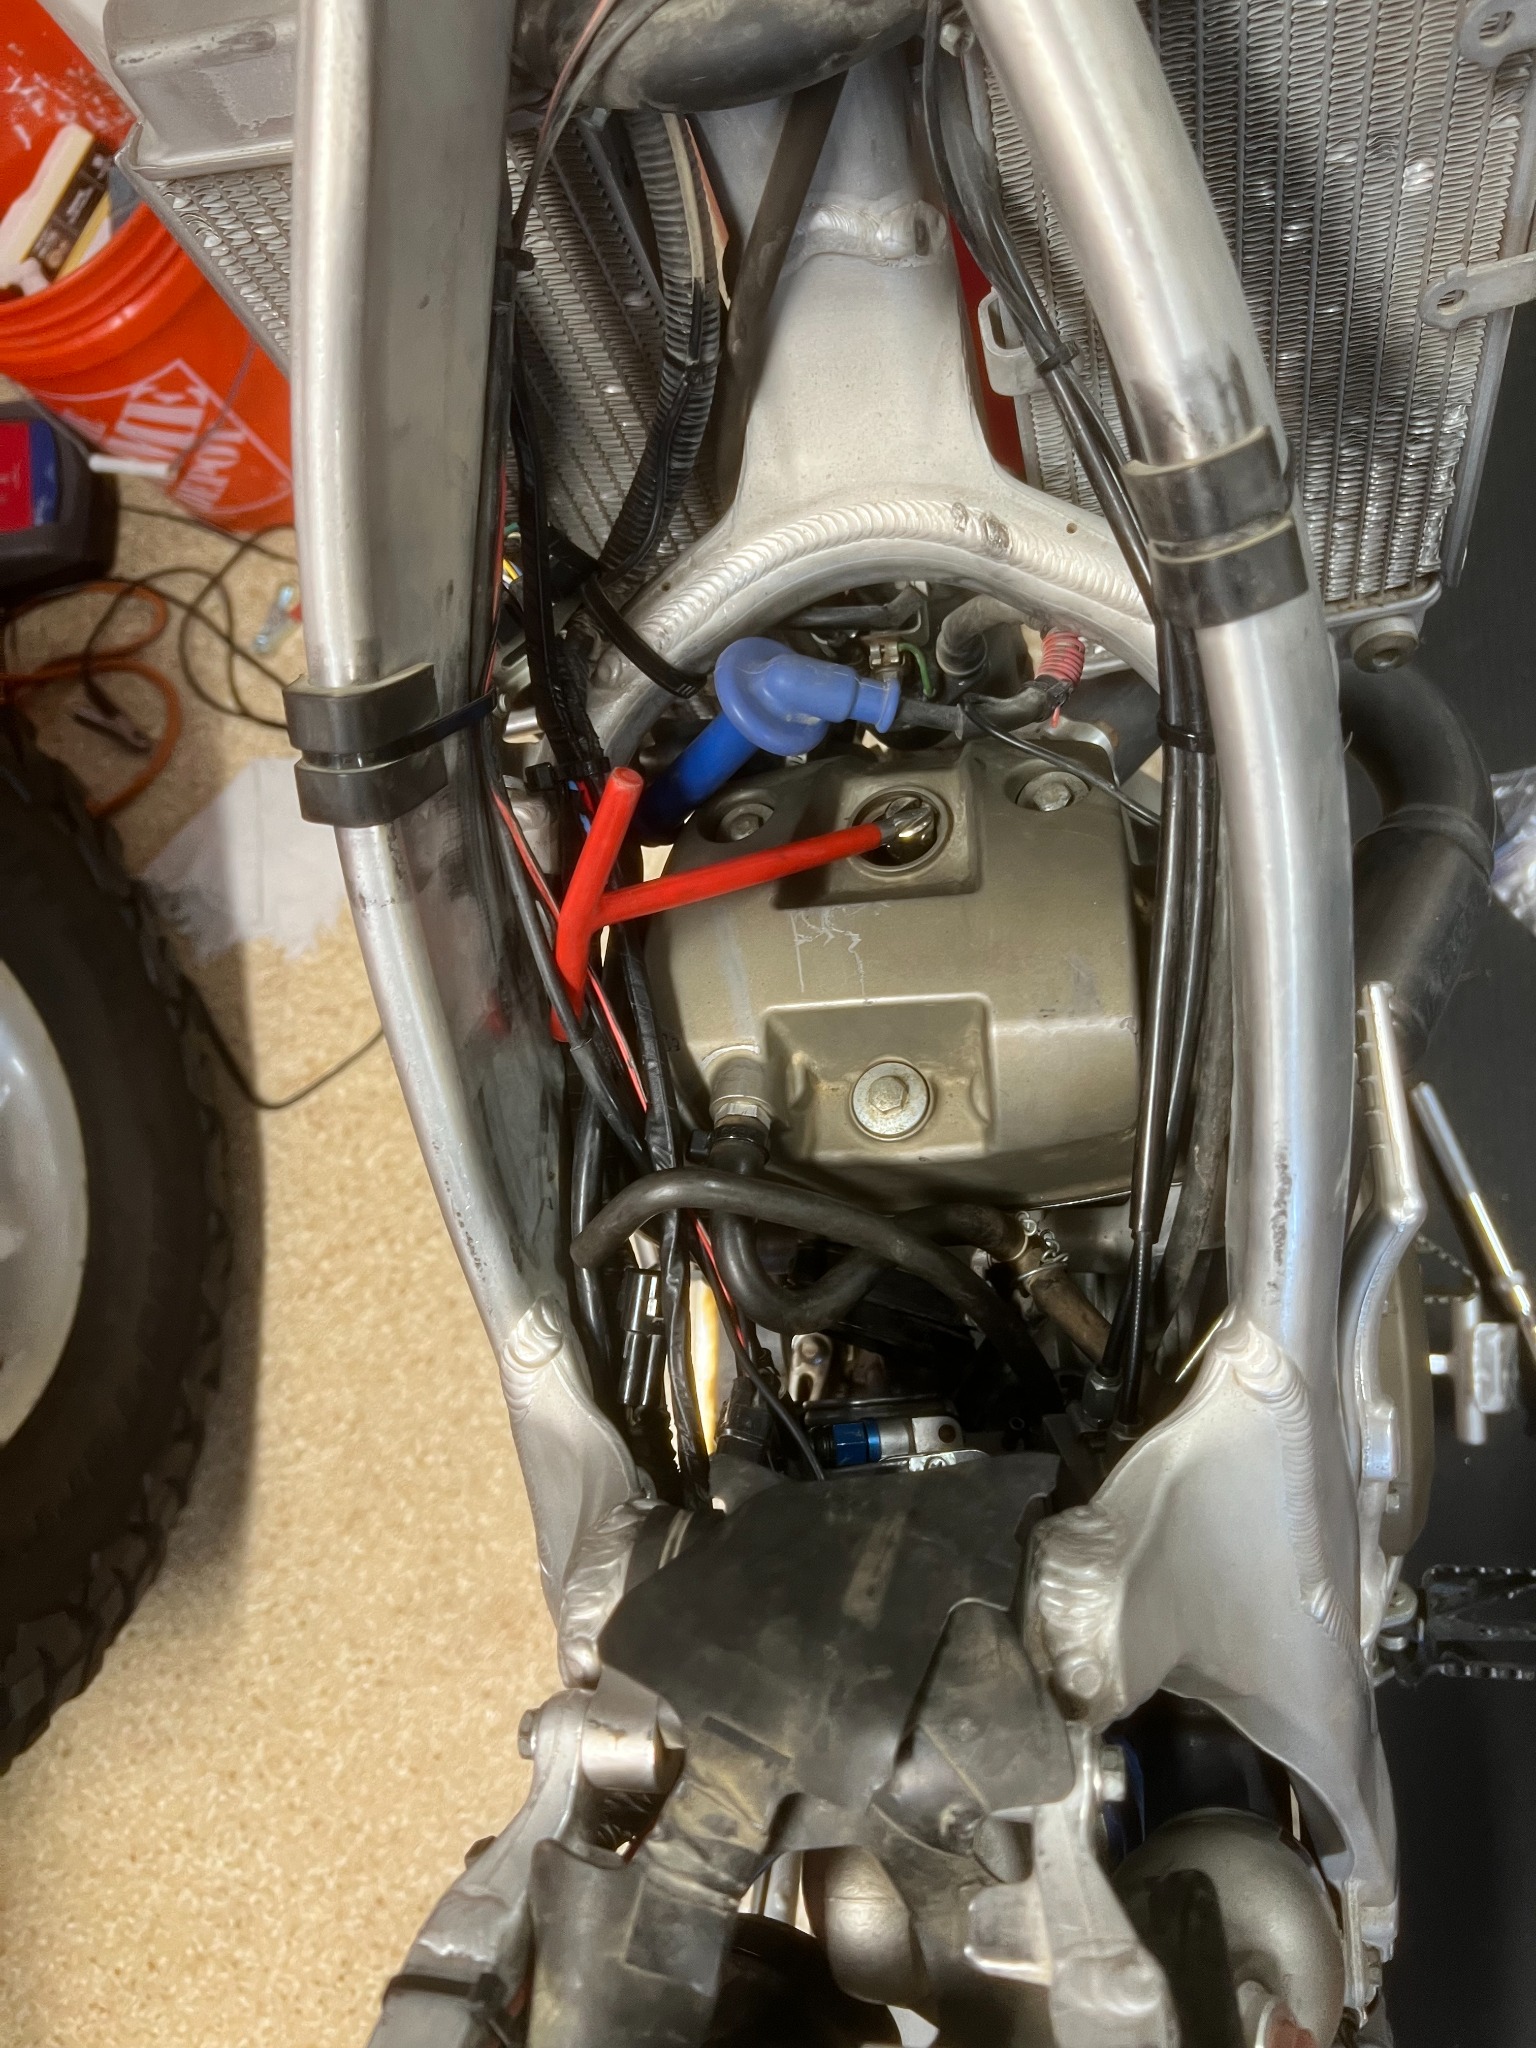
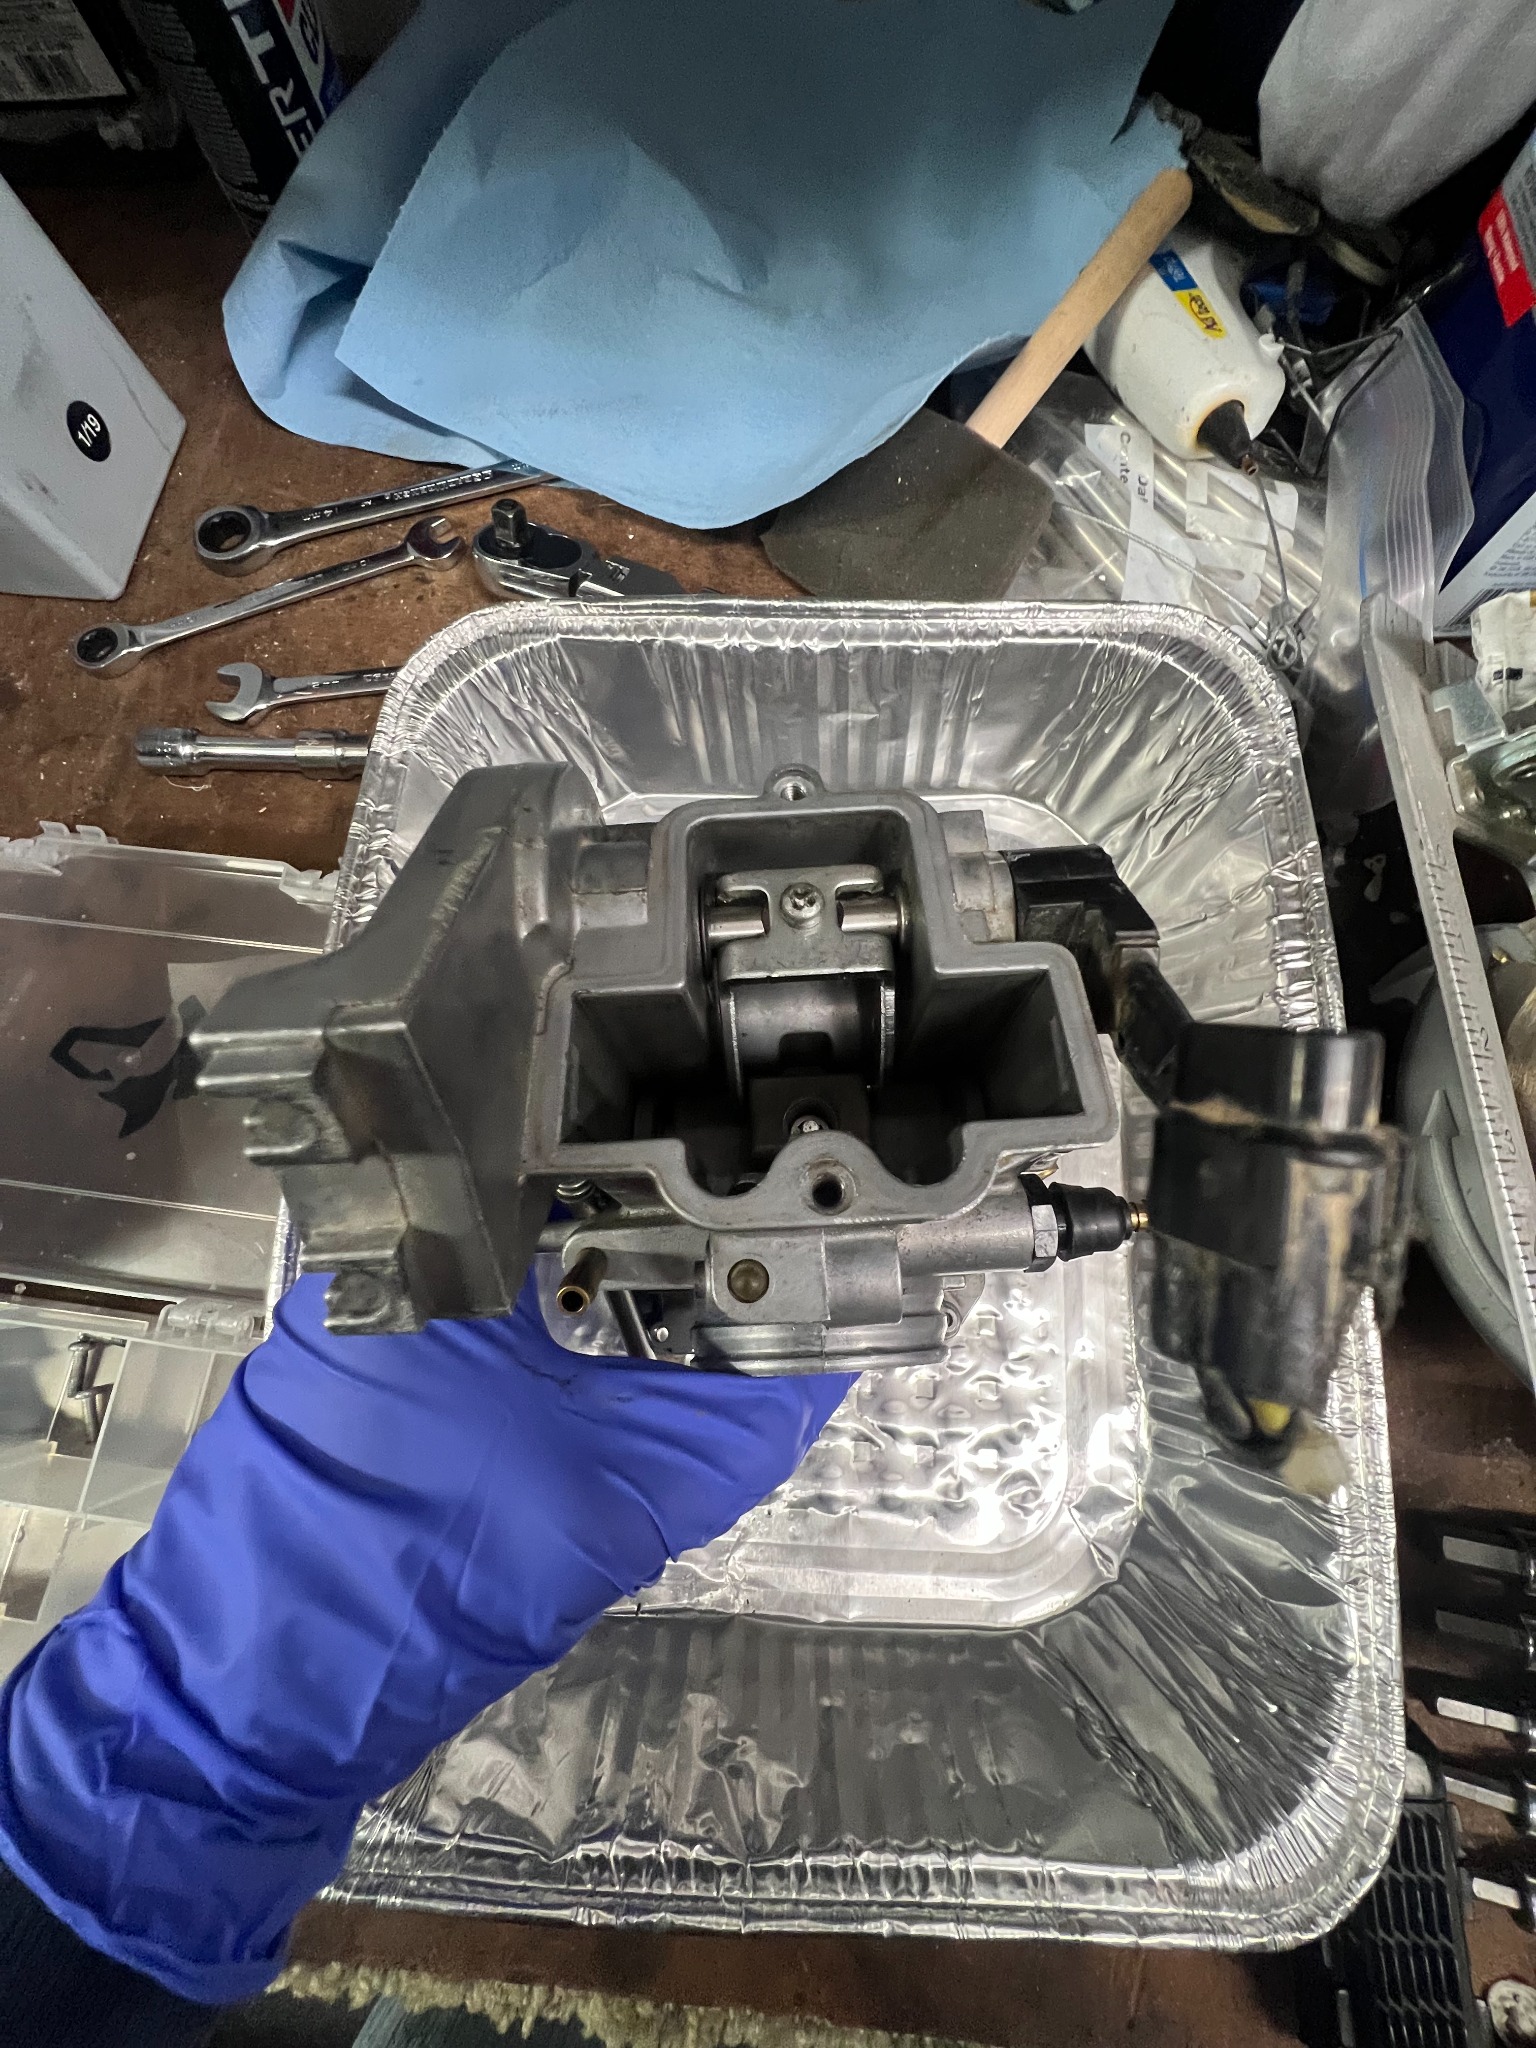
View larger ↗2017 CRF250R top-end rebuildBike disassembled for cylinder-head and top-end serviceView larger ↗2005 CRF450 carburetor rebuildOne of the documented fuel-system repair projects from this maintenance collection
Original repair photos from hands-on service work. Select an image to inspect it at full size.
SERVICE LOG / FOUR REPAIRS
04Documented repairs and maintenance procedures across Honda and Yamaha dirt bikes
ABOUT THIS COLLECTION
From symptom to working repair.
These four repairs document how I diagnosed engine and fuel-system issues, used measurements or mechanical inspection to choose a repair, and completed service procedures on my own and family dirt bikes. Each entry describes the problem, likely cause, work performed, and evidence available.
REPAIR 01 / ENGINE & VALVETRAIN
Top-End Rebuild on 2017 Honda CRF250R.
Repair goal
Restore normal starting and idle behavior by addressing the valve-clearance problem and refreshing worn top-end components.
Issue
Intake and exhaust valve clearance was going out of specification quicker than normal, leaving the bike hard to start and more inclined to stall when idling.
Reasoning
This made sense because the valves had a high number of hours on them and were due for replacement. The old valves began to tulip or deform, allowing too much air to escape when the valves were supposed to be shut, which reduced cylinder compression.
Solution
I installed new valves in the cylinder head and then readjusted the valve clearances. While the top end of the engine was open, I also took the cylinder to a local machine shop to be honed, and I installed a new piston, piston rings, and new head gaskets.
Work completed / evidence
Replaced valves, re-shimmed the valve train, installed a new piston/rings/gaskets, and had the cylinder honed. Photos show disassembly and the reassembled bike; compression measurements are not included.
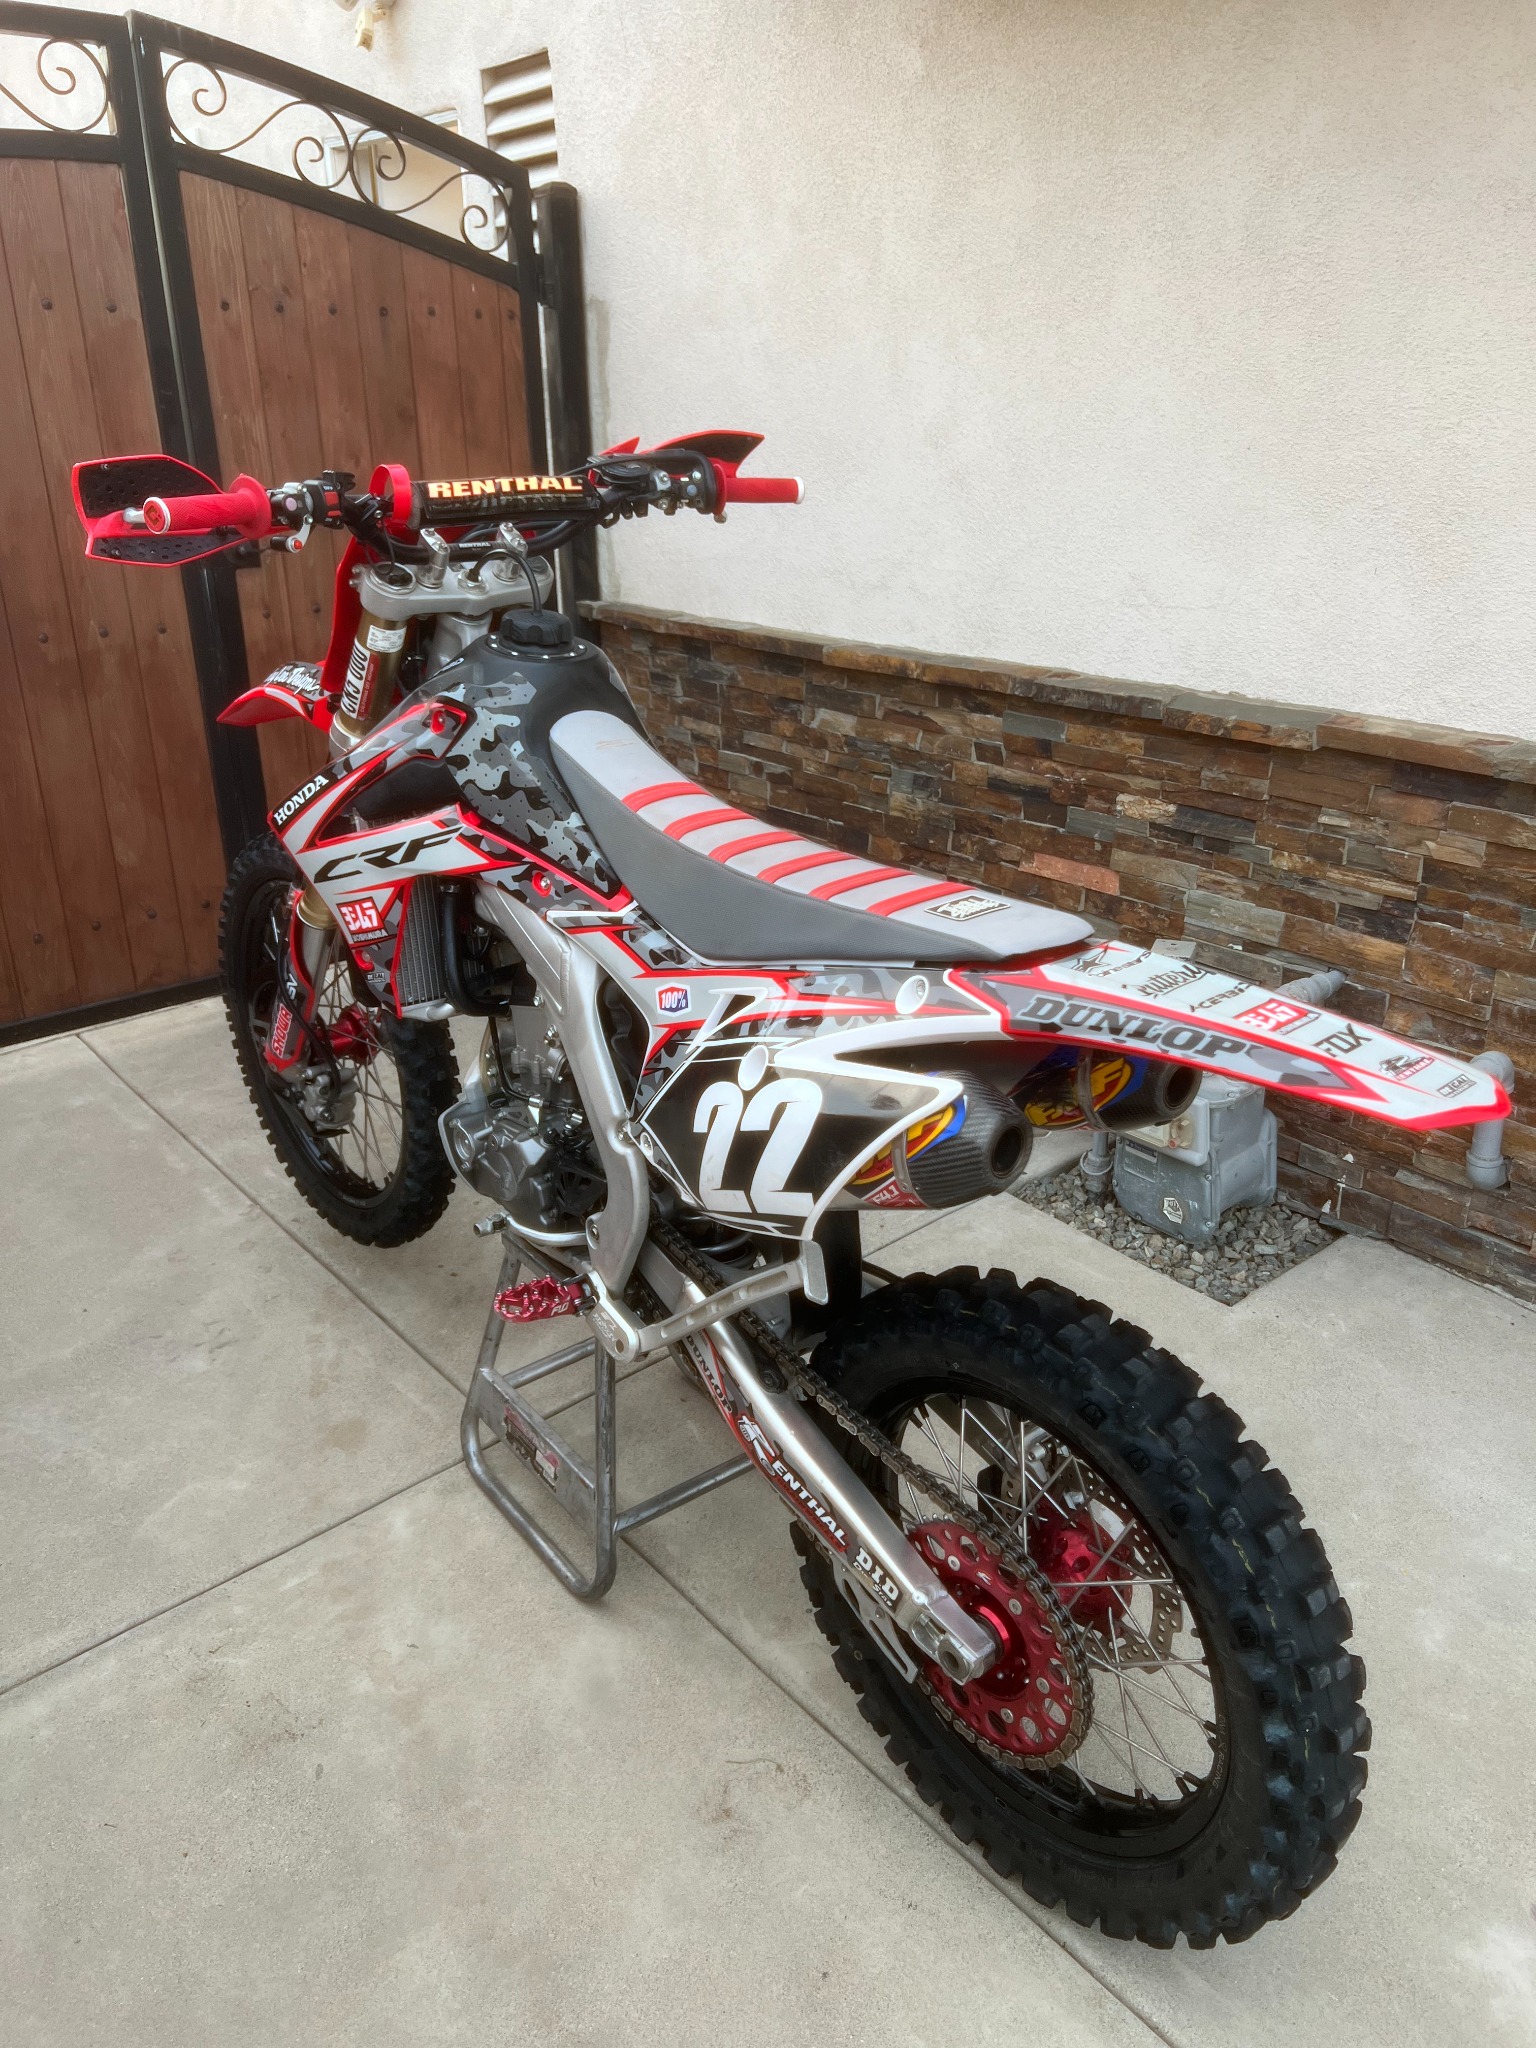
View larger ↗Bike torn down for serviceAccessing the top end and cylinder-head components required substantial disassemblyView larger ↗Back together and ride-readyThe completed bike after the top-end rebuild and reassembly
REPAIR 02 / VALVETRAIN SERVICE
Valve Adjustments.
Repair goal
Return intake and exhaust valve clearance to the manufacturer’s specified range.
Issue
Intake and exhaust valve clearance was going out of spec, leaving the bike hard to start and more inclined to stall when idling.
Reasoning
This is normal to see after enough operating hours because valves slowly wear and the clearance changes over time. Periodically checking valve lash is important to keep the engine within the manufacturer's service specifications.
Solution
I opened the cylinder-head cover, set the engine to top dead center, and measured valve clearances with a feeler gauge. After that, I removed the cam chain, camshaft, and valve lifters, selected new shims based on the measured and target clearance values, and then reassembled the valve train and measured clearance again to confirm everything was back within specification.
Work completed / evidence
Set the engine at the specified top-dead-center position, measured with feeler gauges, adjusted shim sizes, reassembled, and checked clearance again. No numeric before/after log is shown.
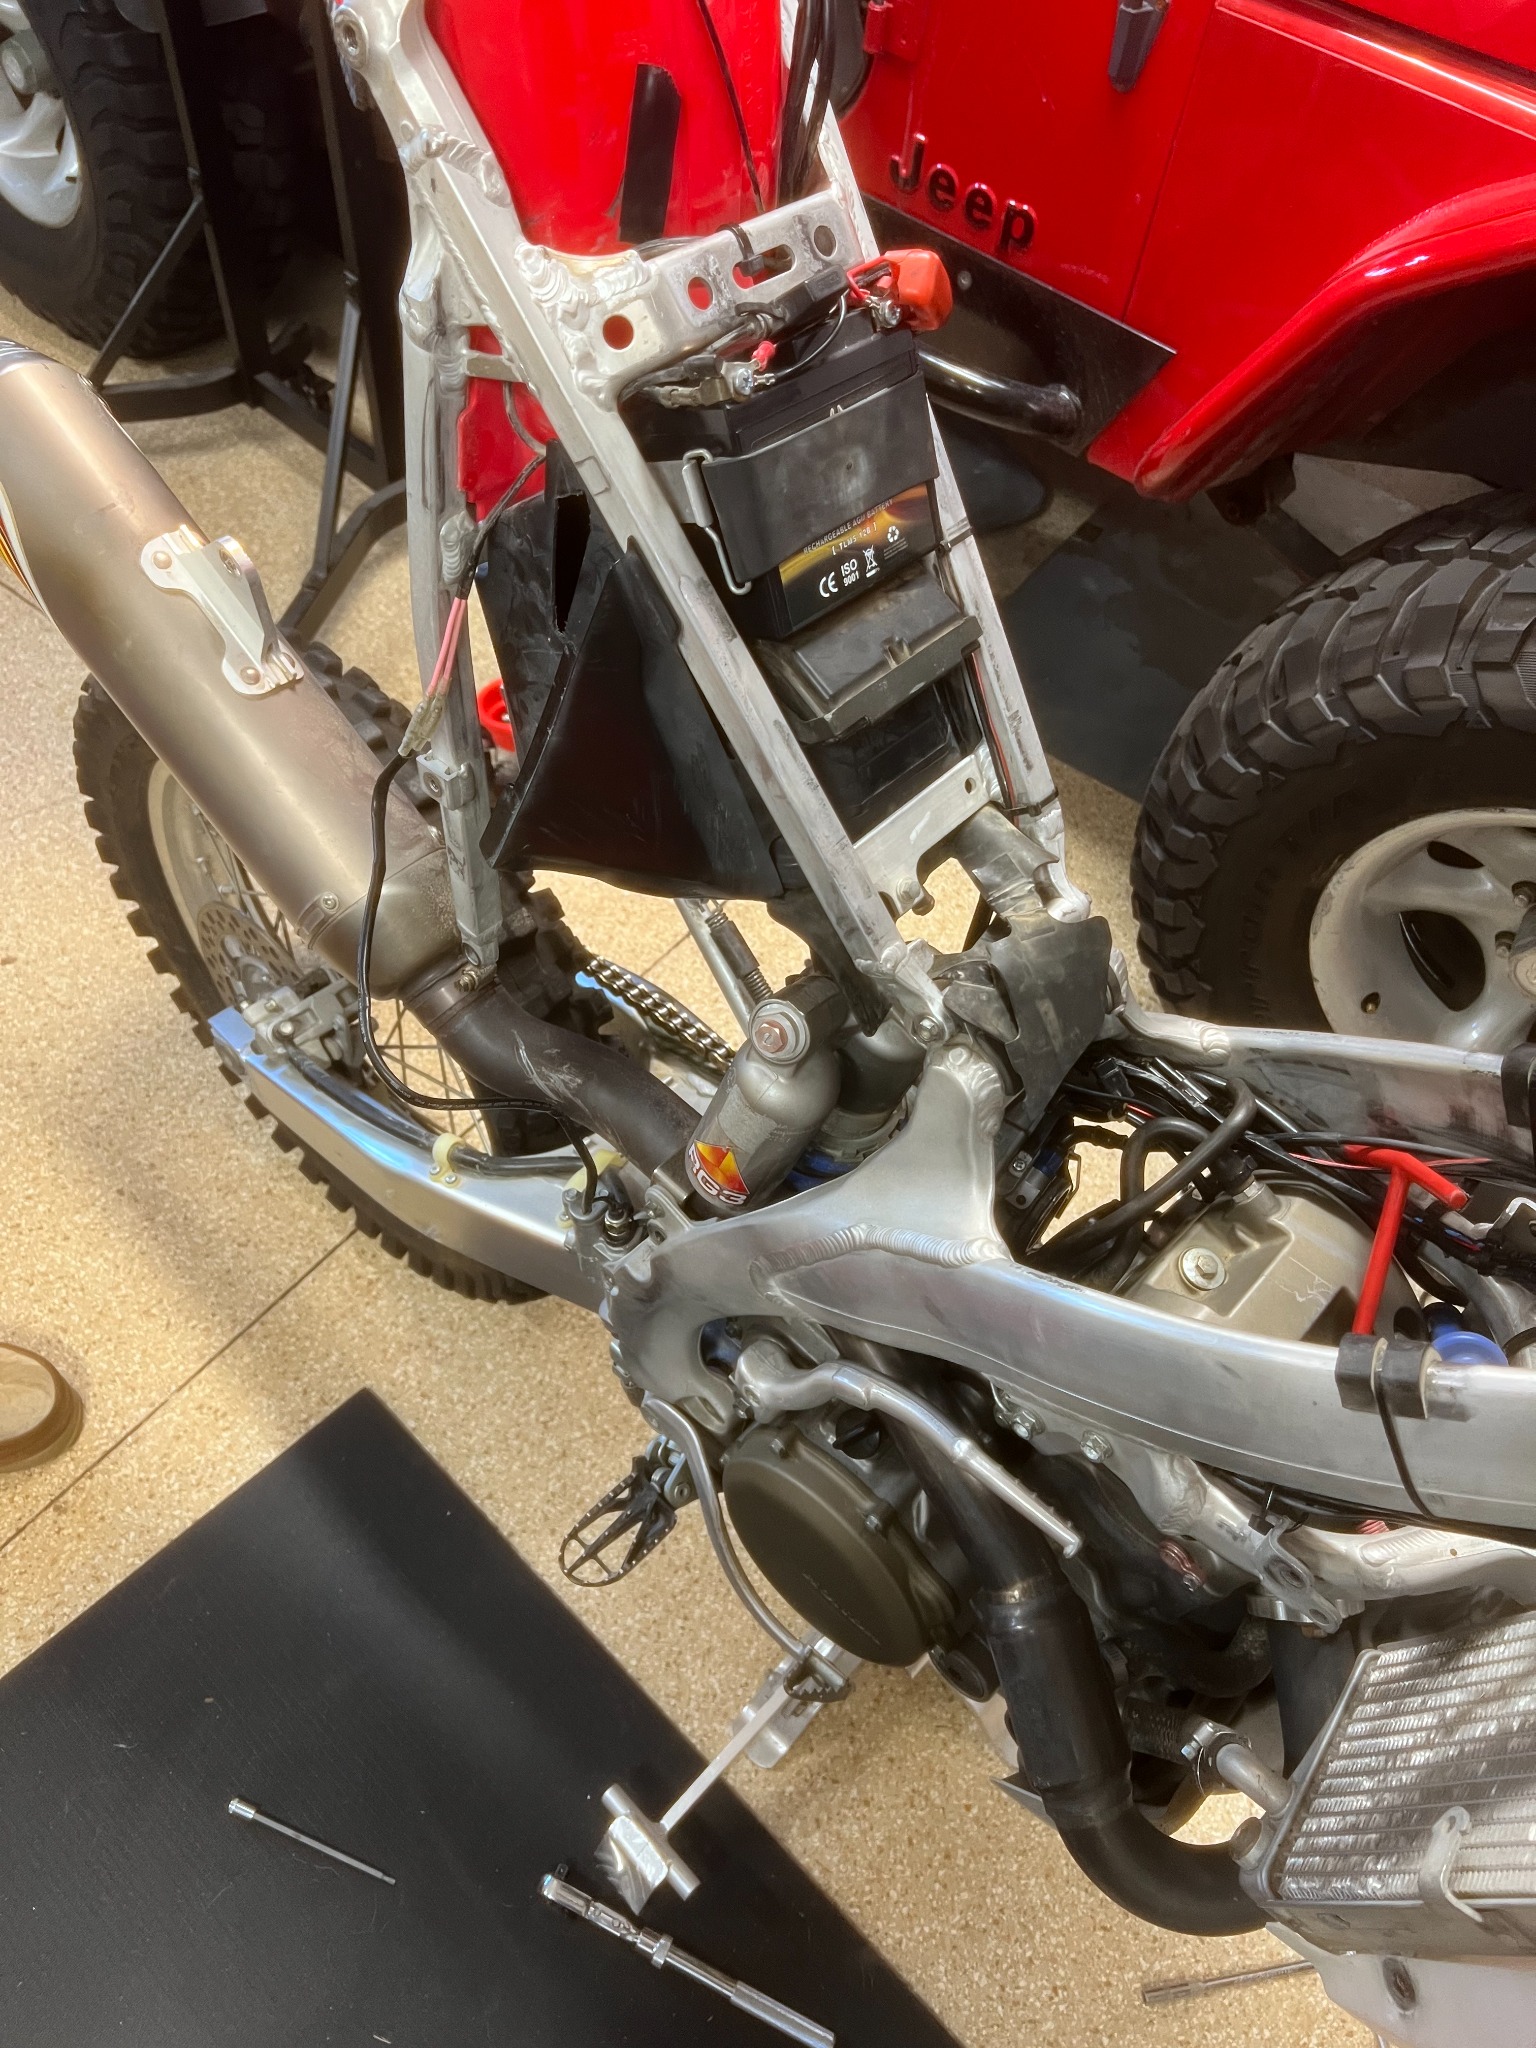
View larger ↗Accessing the valvetrainOpening up the bike to reach the top of the engine for measurement and shim changesView larger ↗Measuring clearanceChecking valve lash with a feeler gauge before selecting replacement shims
REPAIR 03 / FUEL SYSTEM
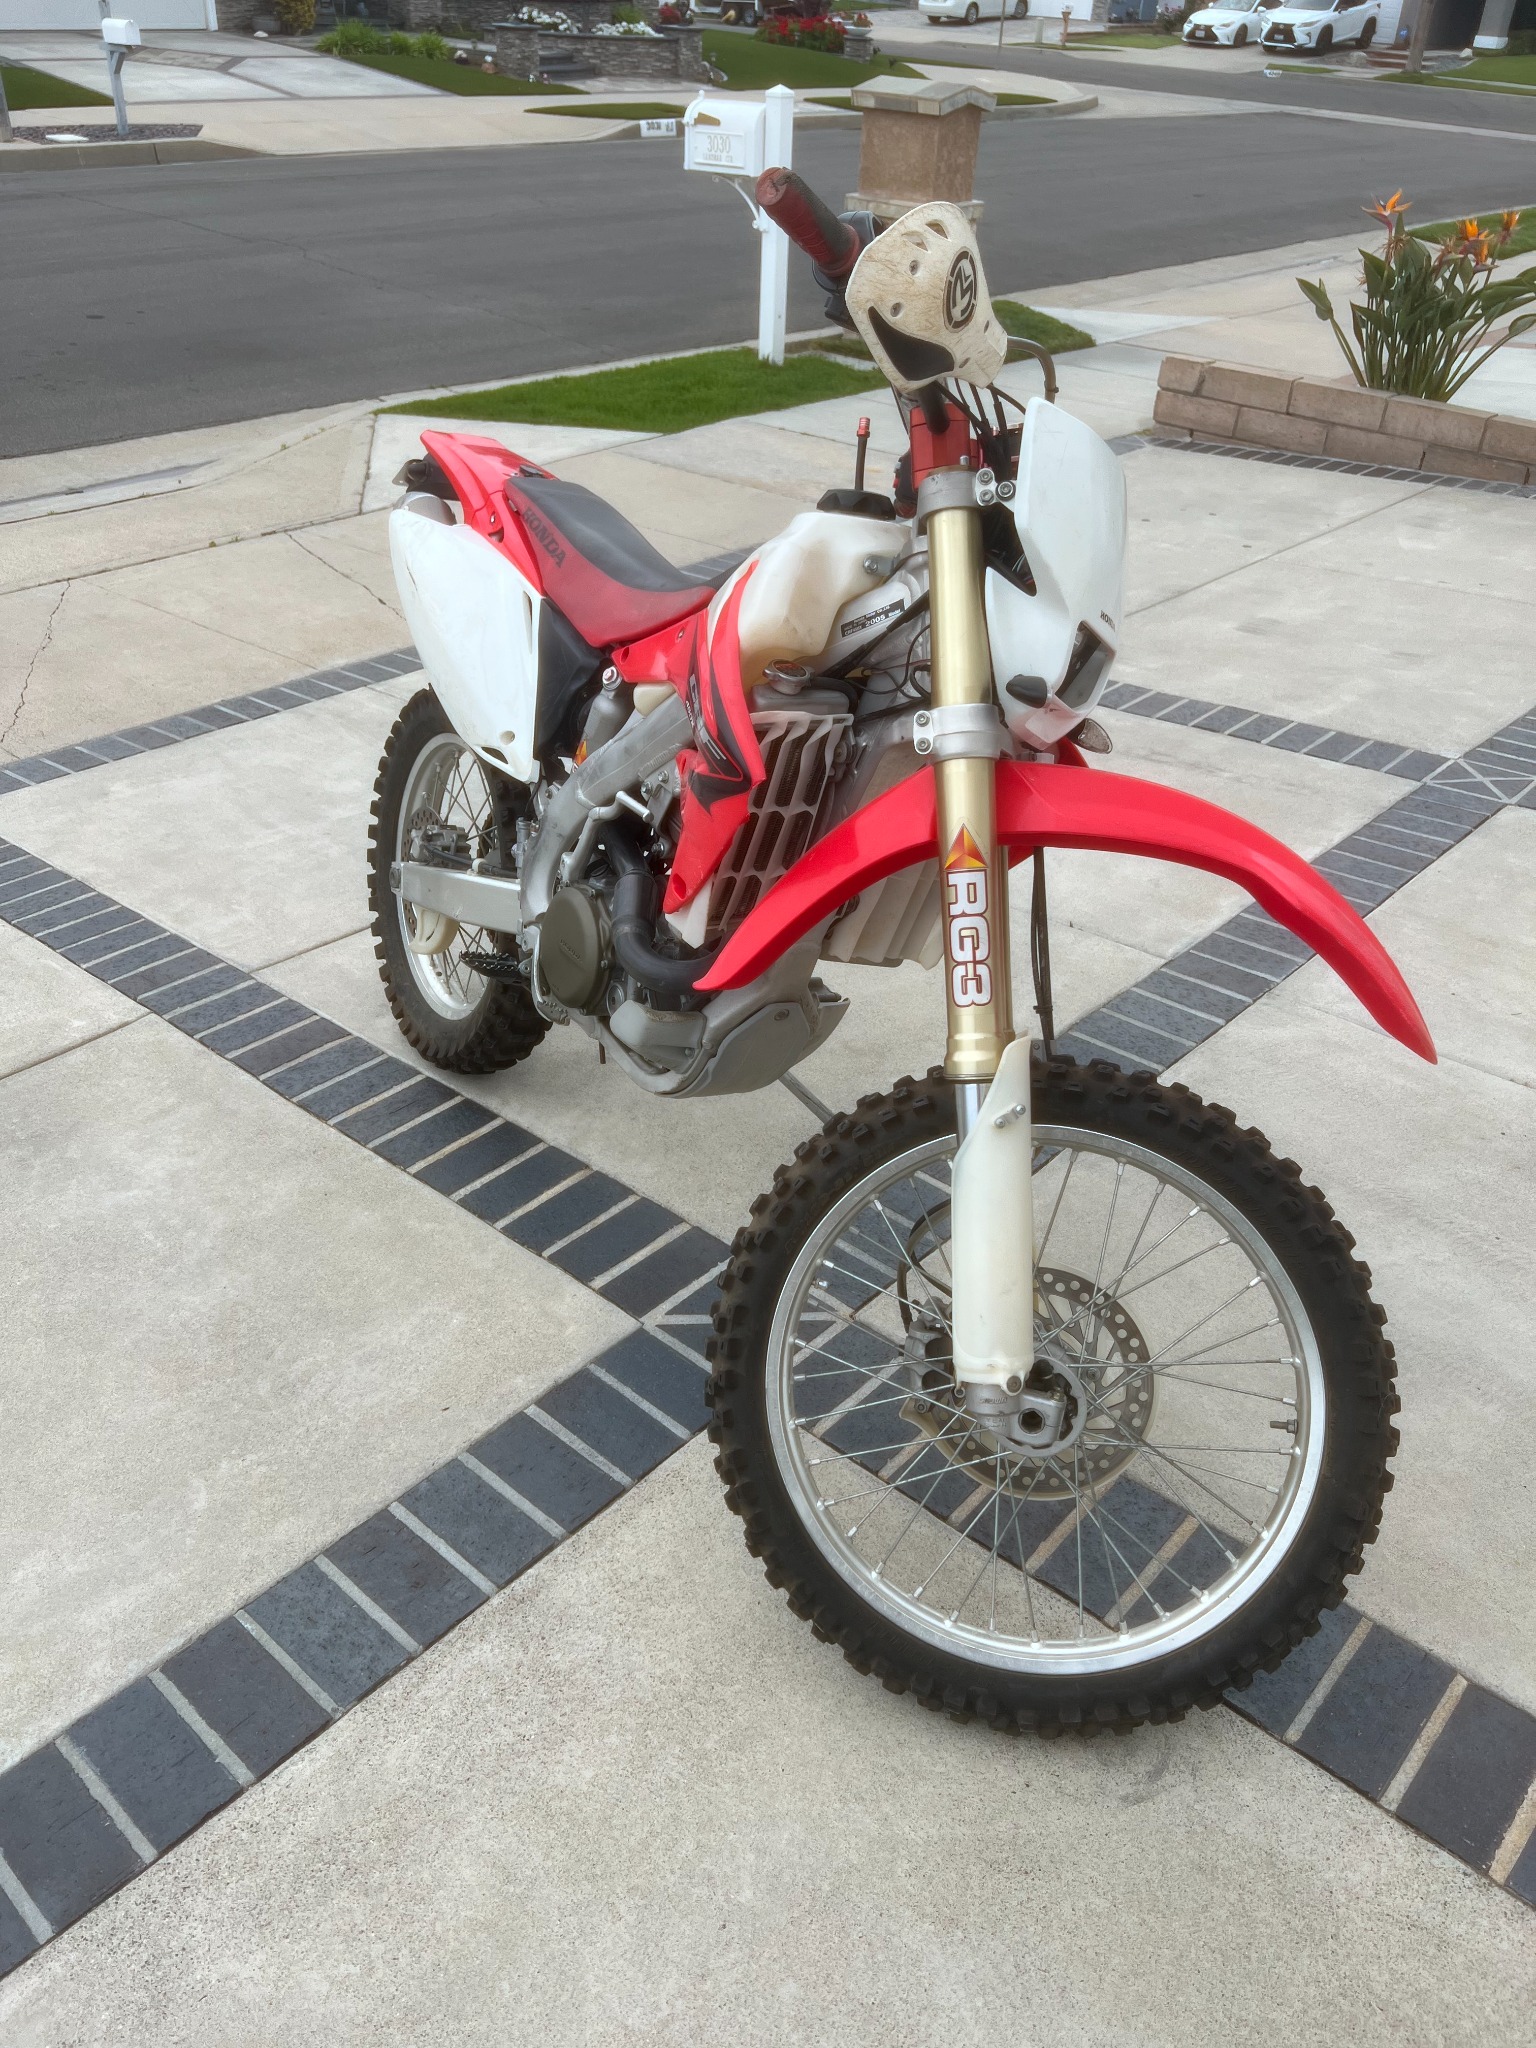
Carburetor Rebuild on 2005 Honda CRF450.
Repair goal
Correct a no-start condition consistent with restricted fuel passages after gasoline sat in the carburetor.
Issue
The bike would not start, even though it sounded like it wanted to fire.
Reasoning
Fuel had been left sitting in the carburetor for too long, which likely clogged the jets and internal passages inside the carburetor.
Solution
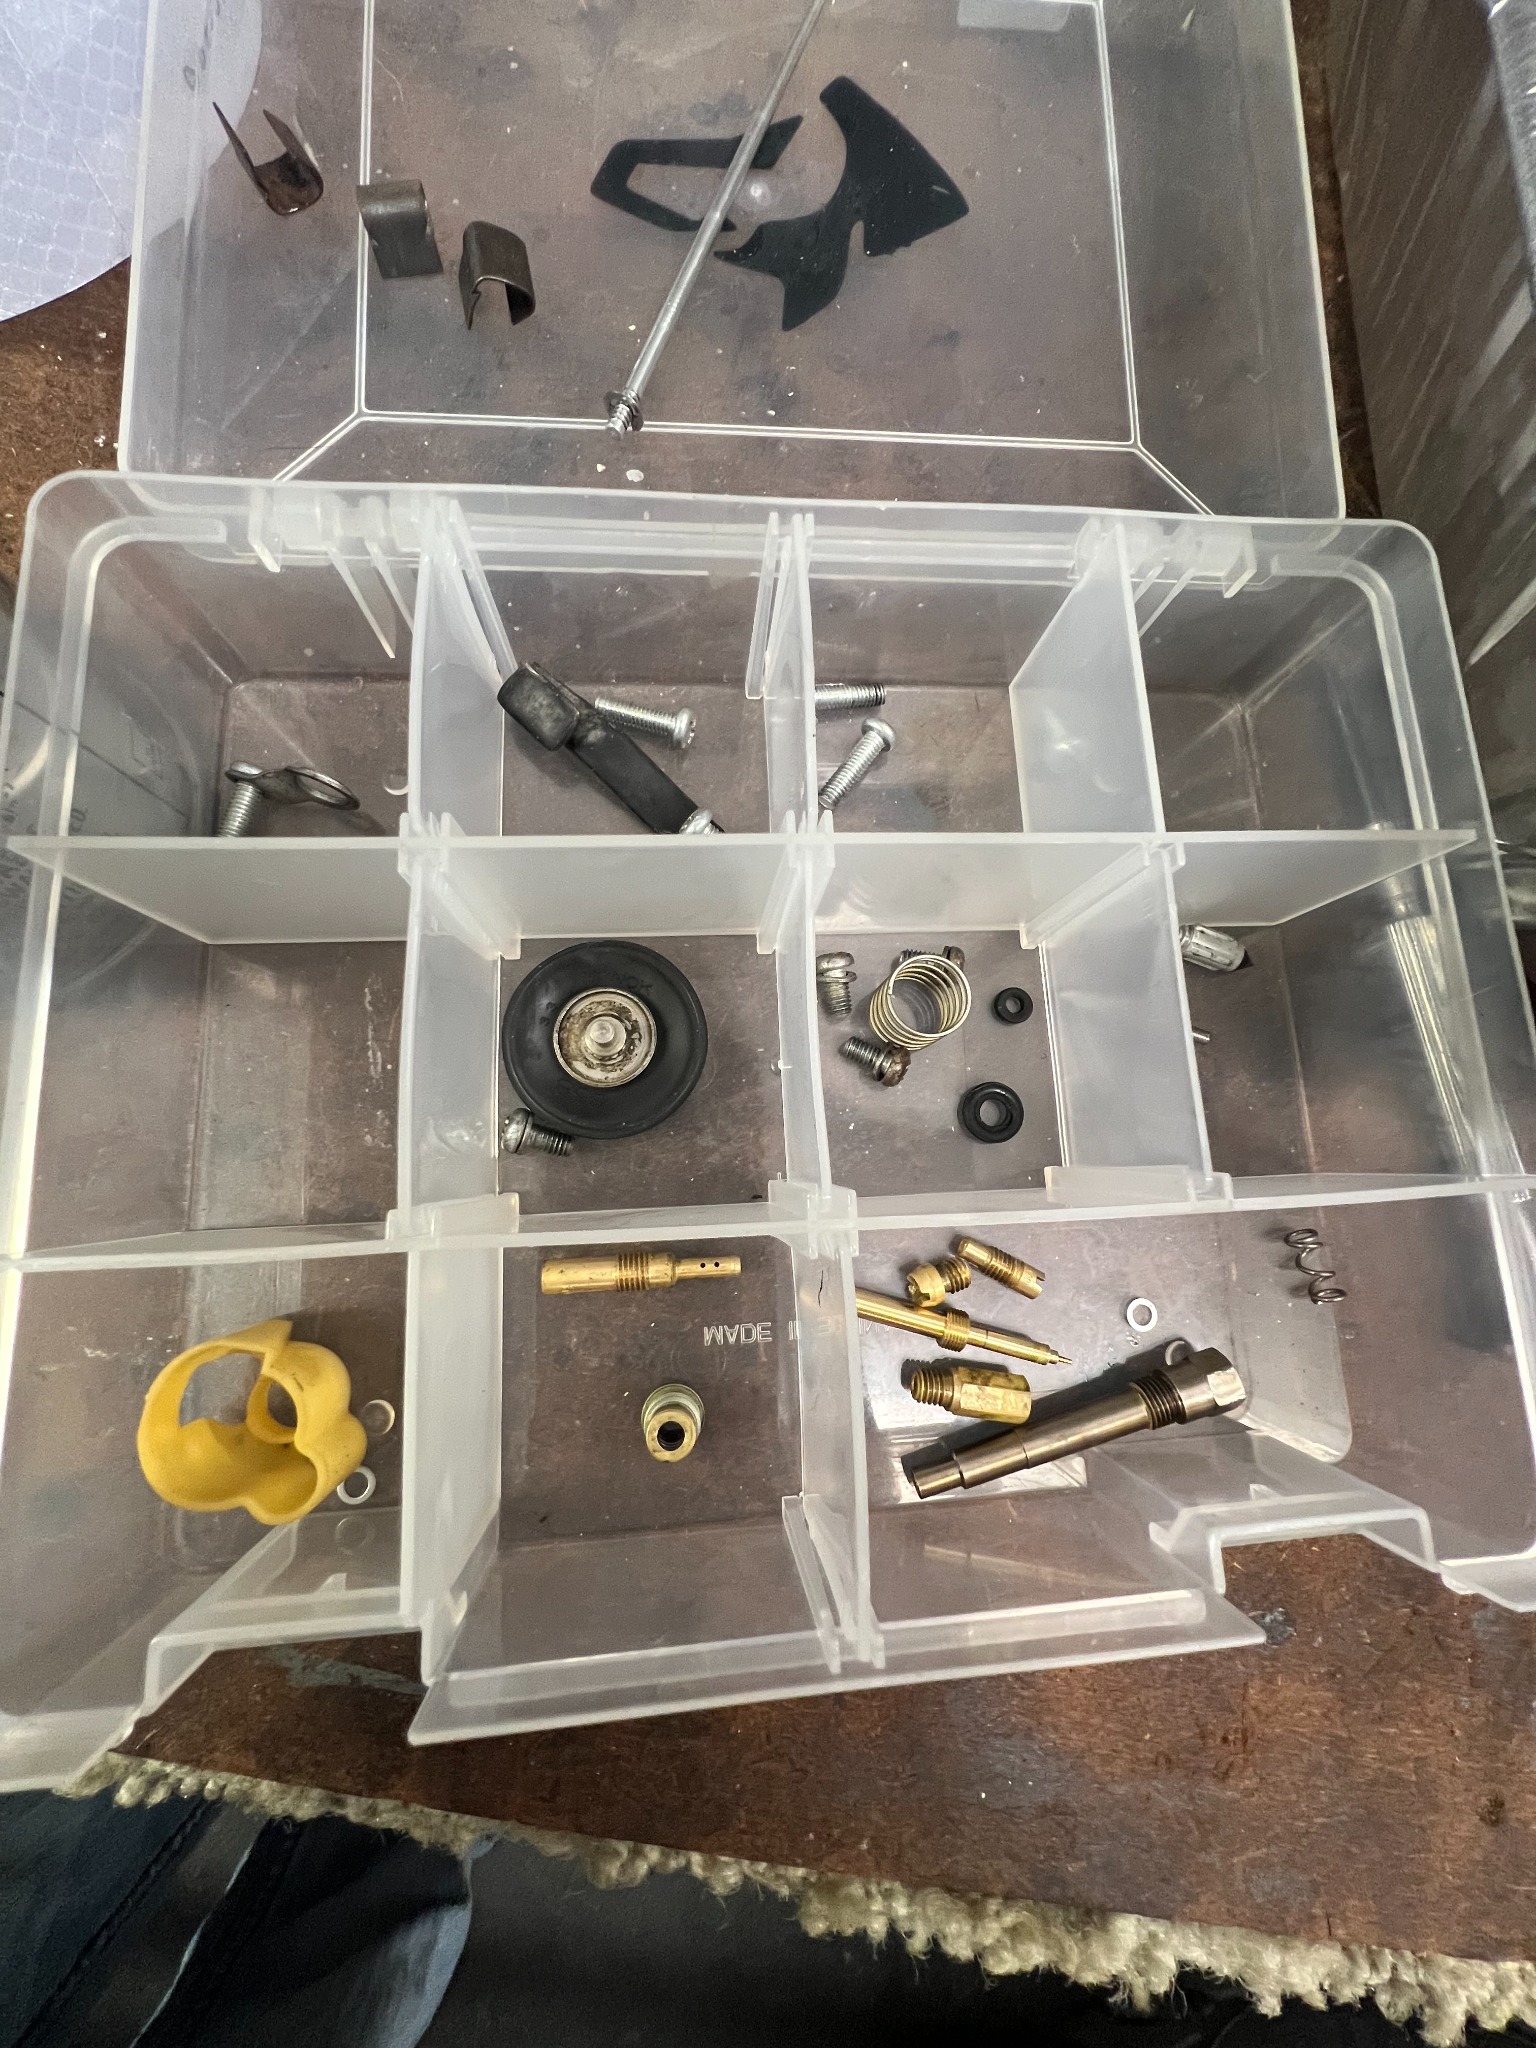
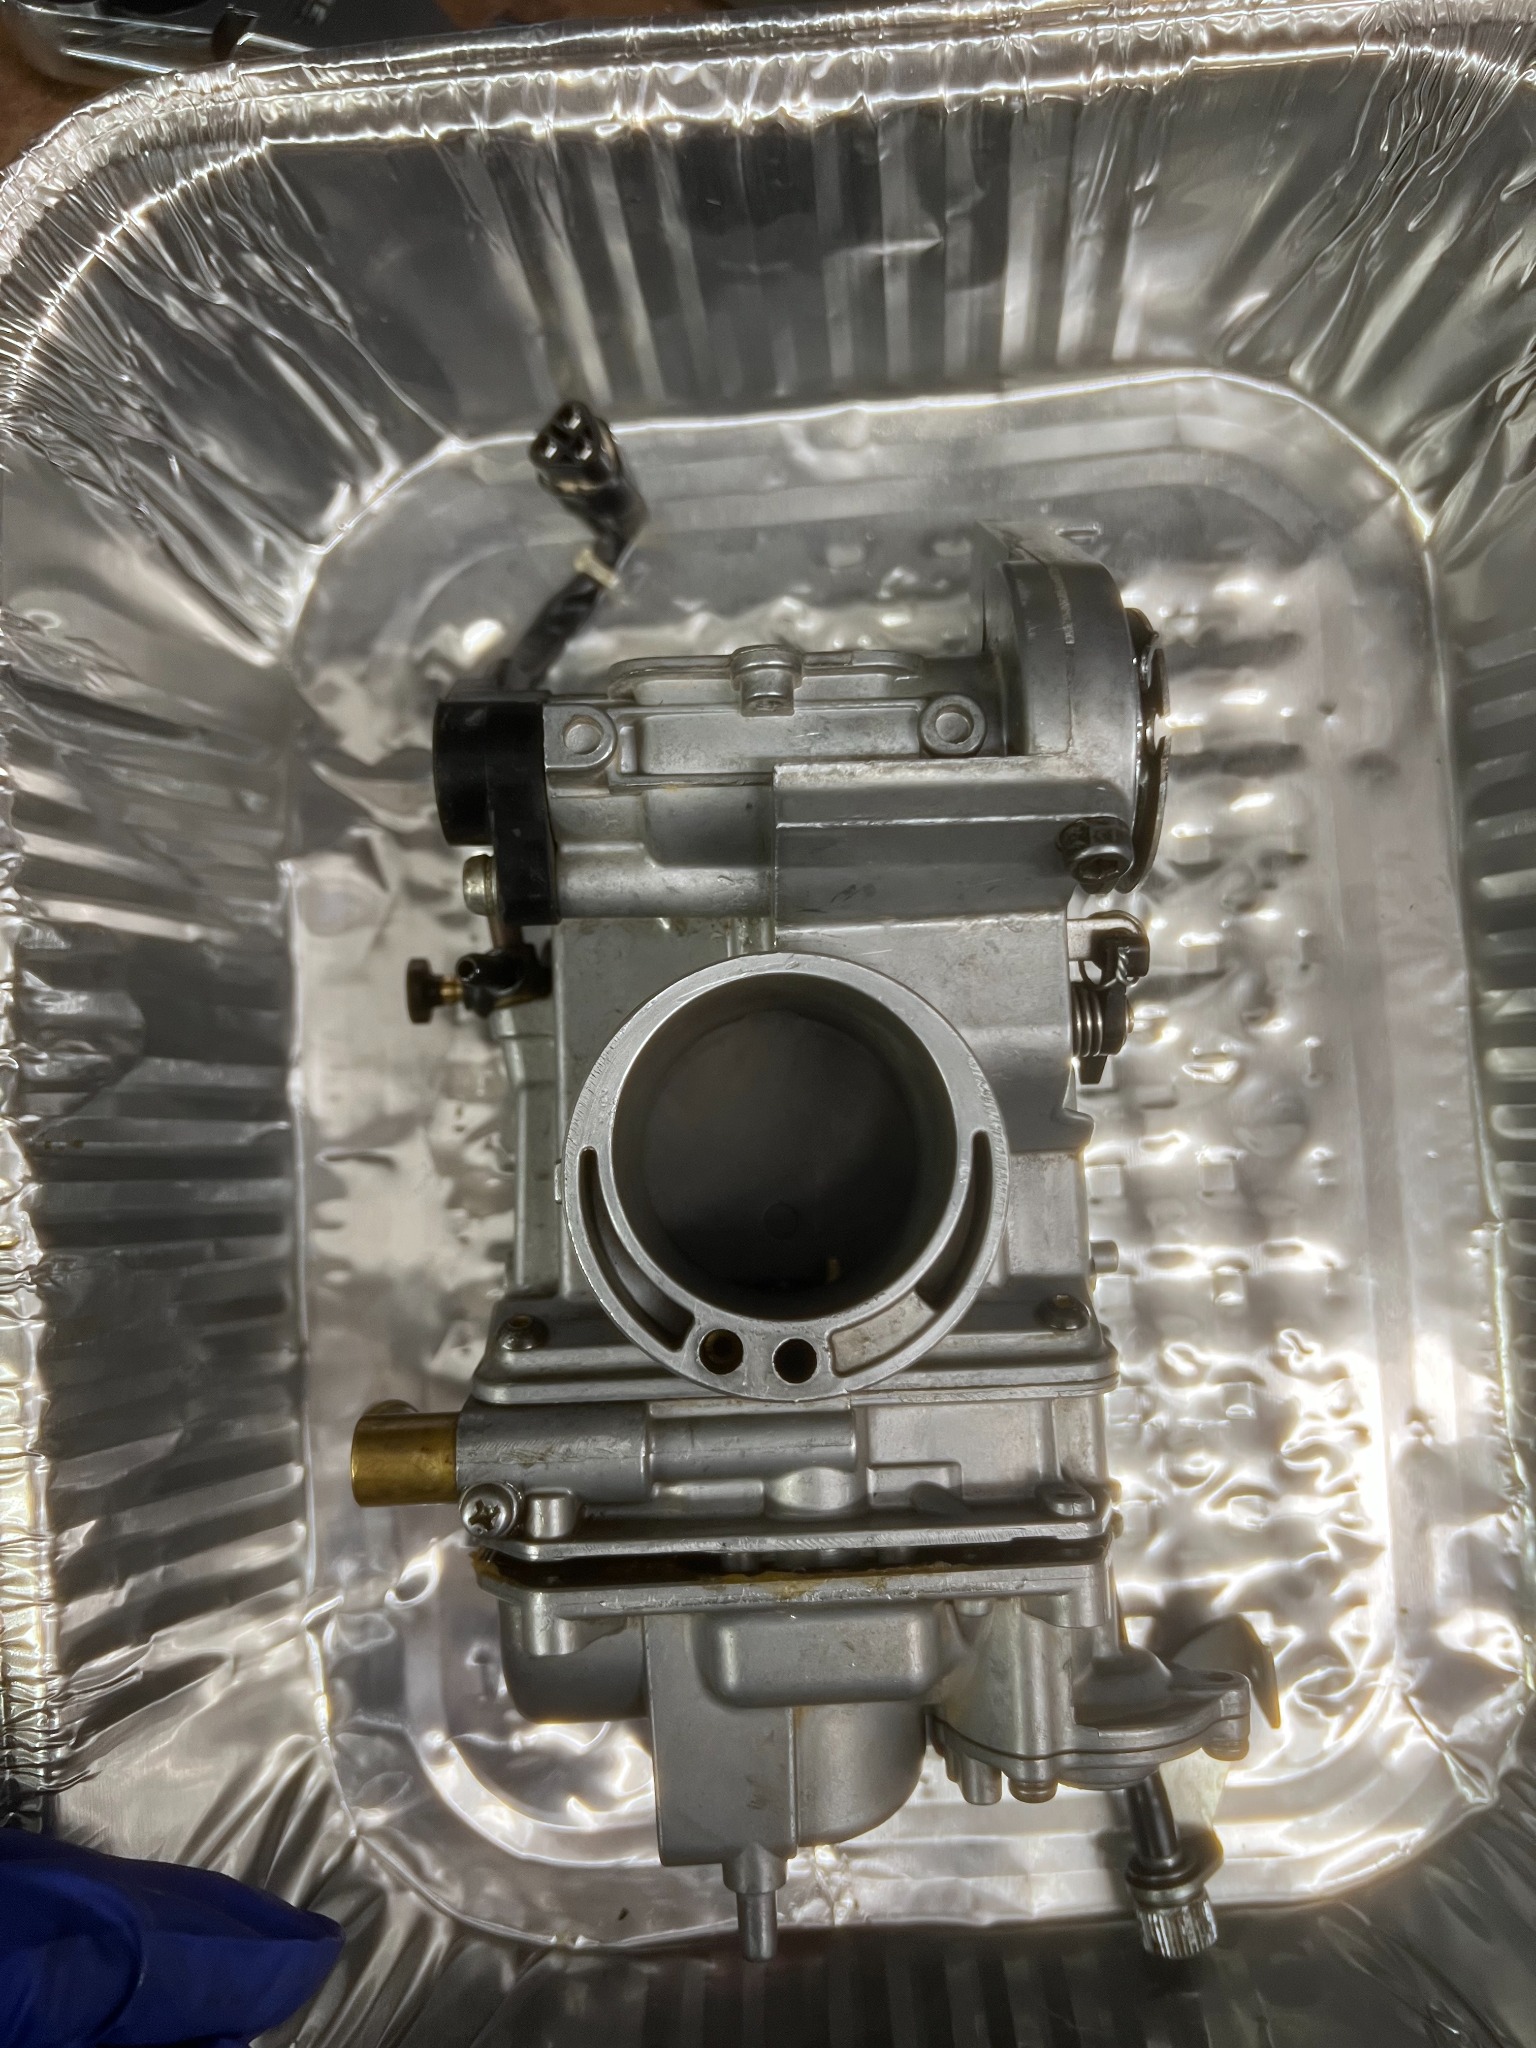
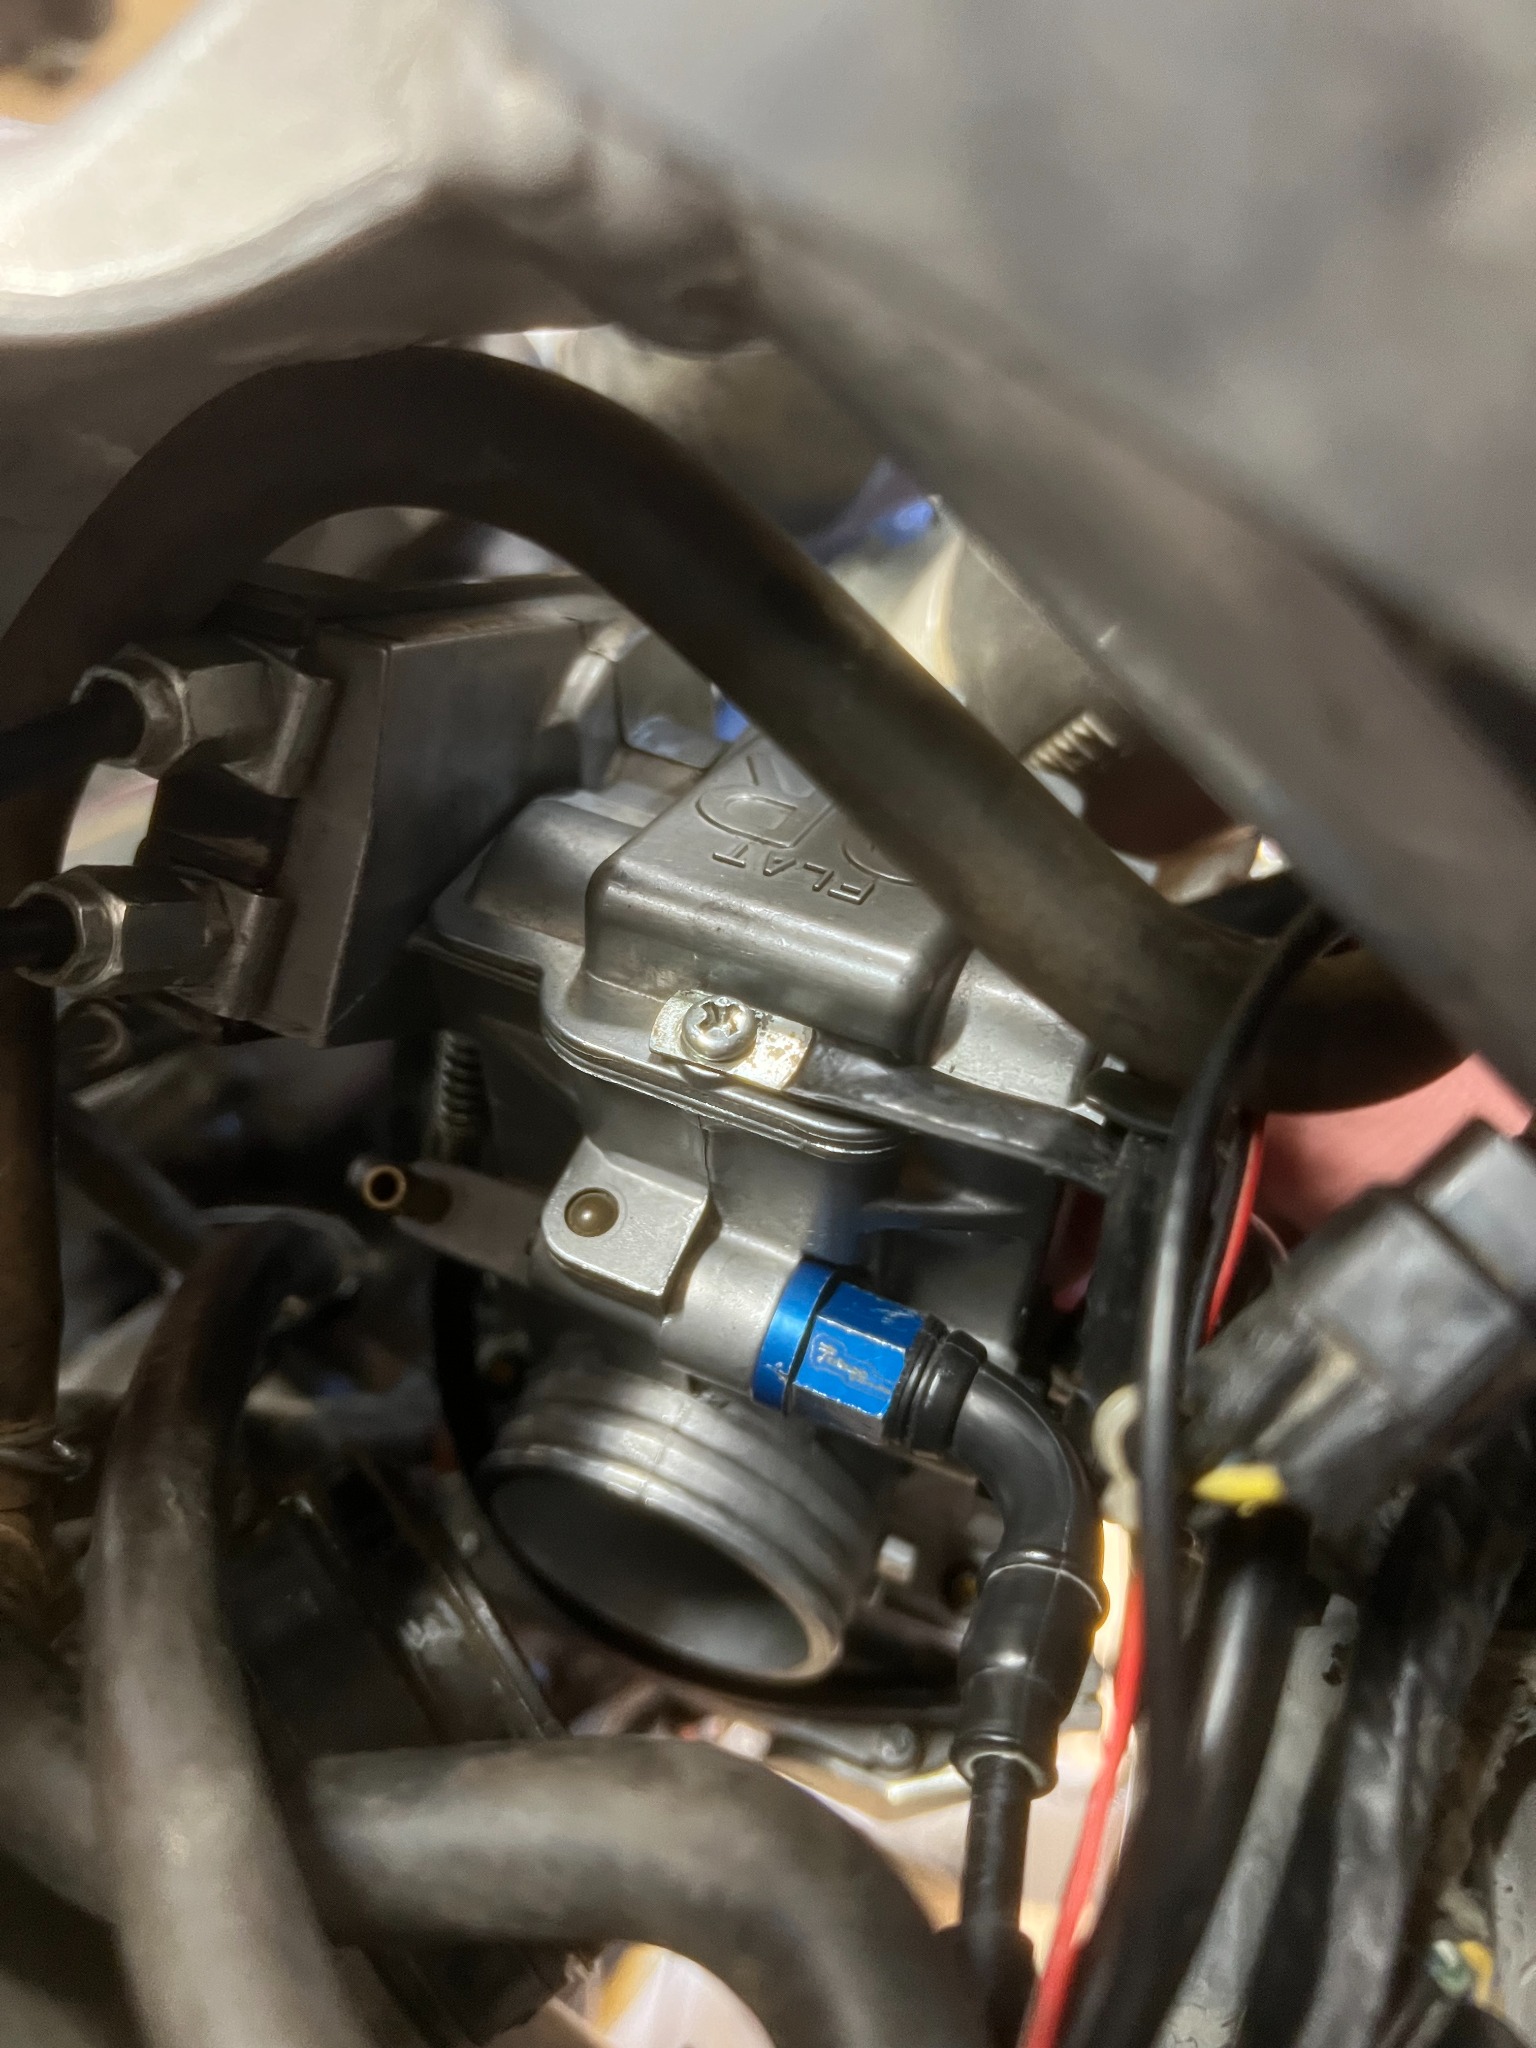
I removed the carburetor, tore it apart, and cleaned all the jets and passages with carburetor cleaner and compressed air. After cleaning, I reassembled everything with fresh seals and gaskets and then reinstalled the carburetor on the bike.
Work completed / evidence
Removed, disassembled, cleaned, and reassembled the carburetor with new seals. Photos document the carb body and jets before installation; no measured flow or engine-running test is included.
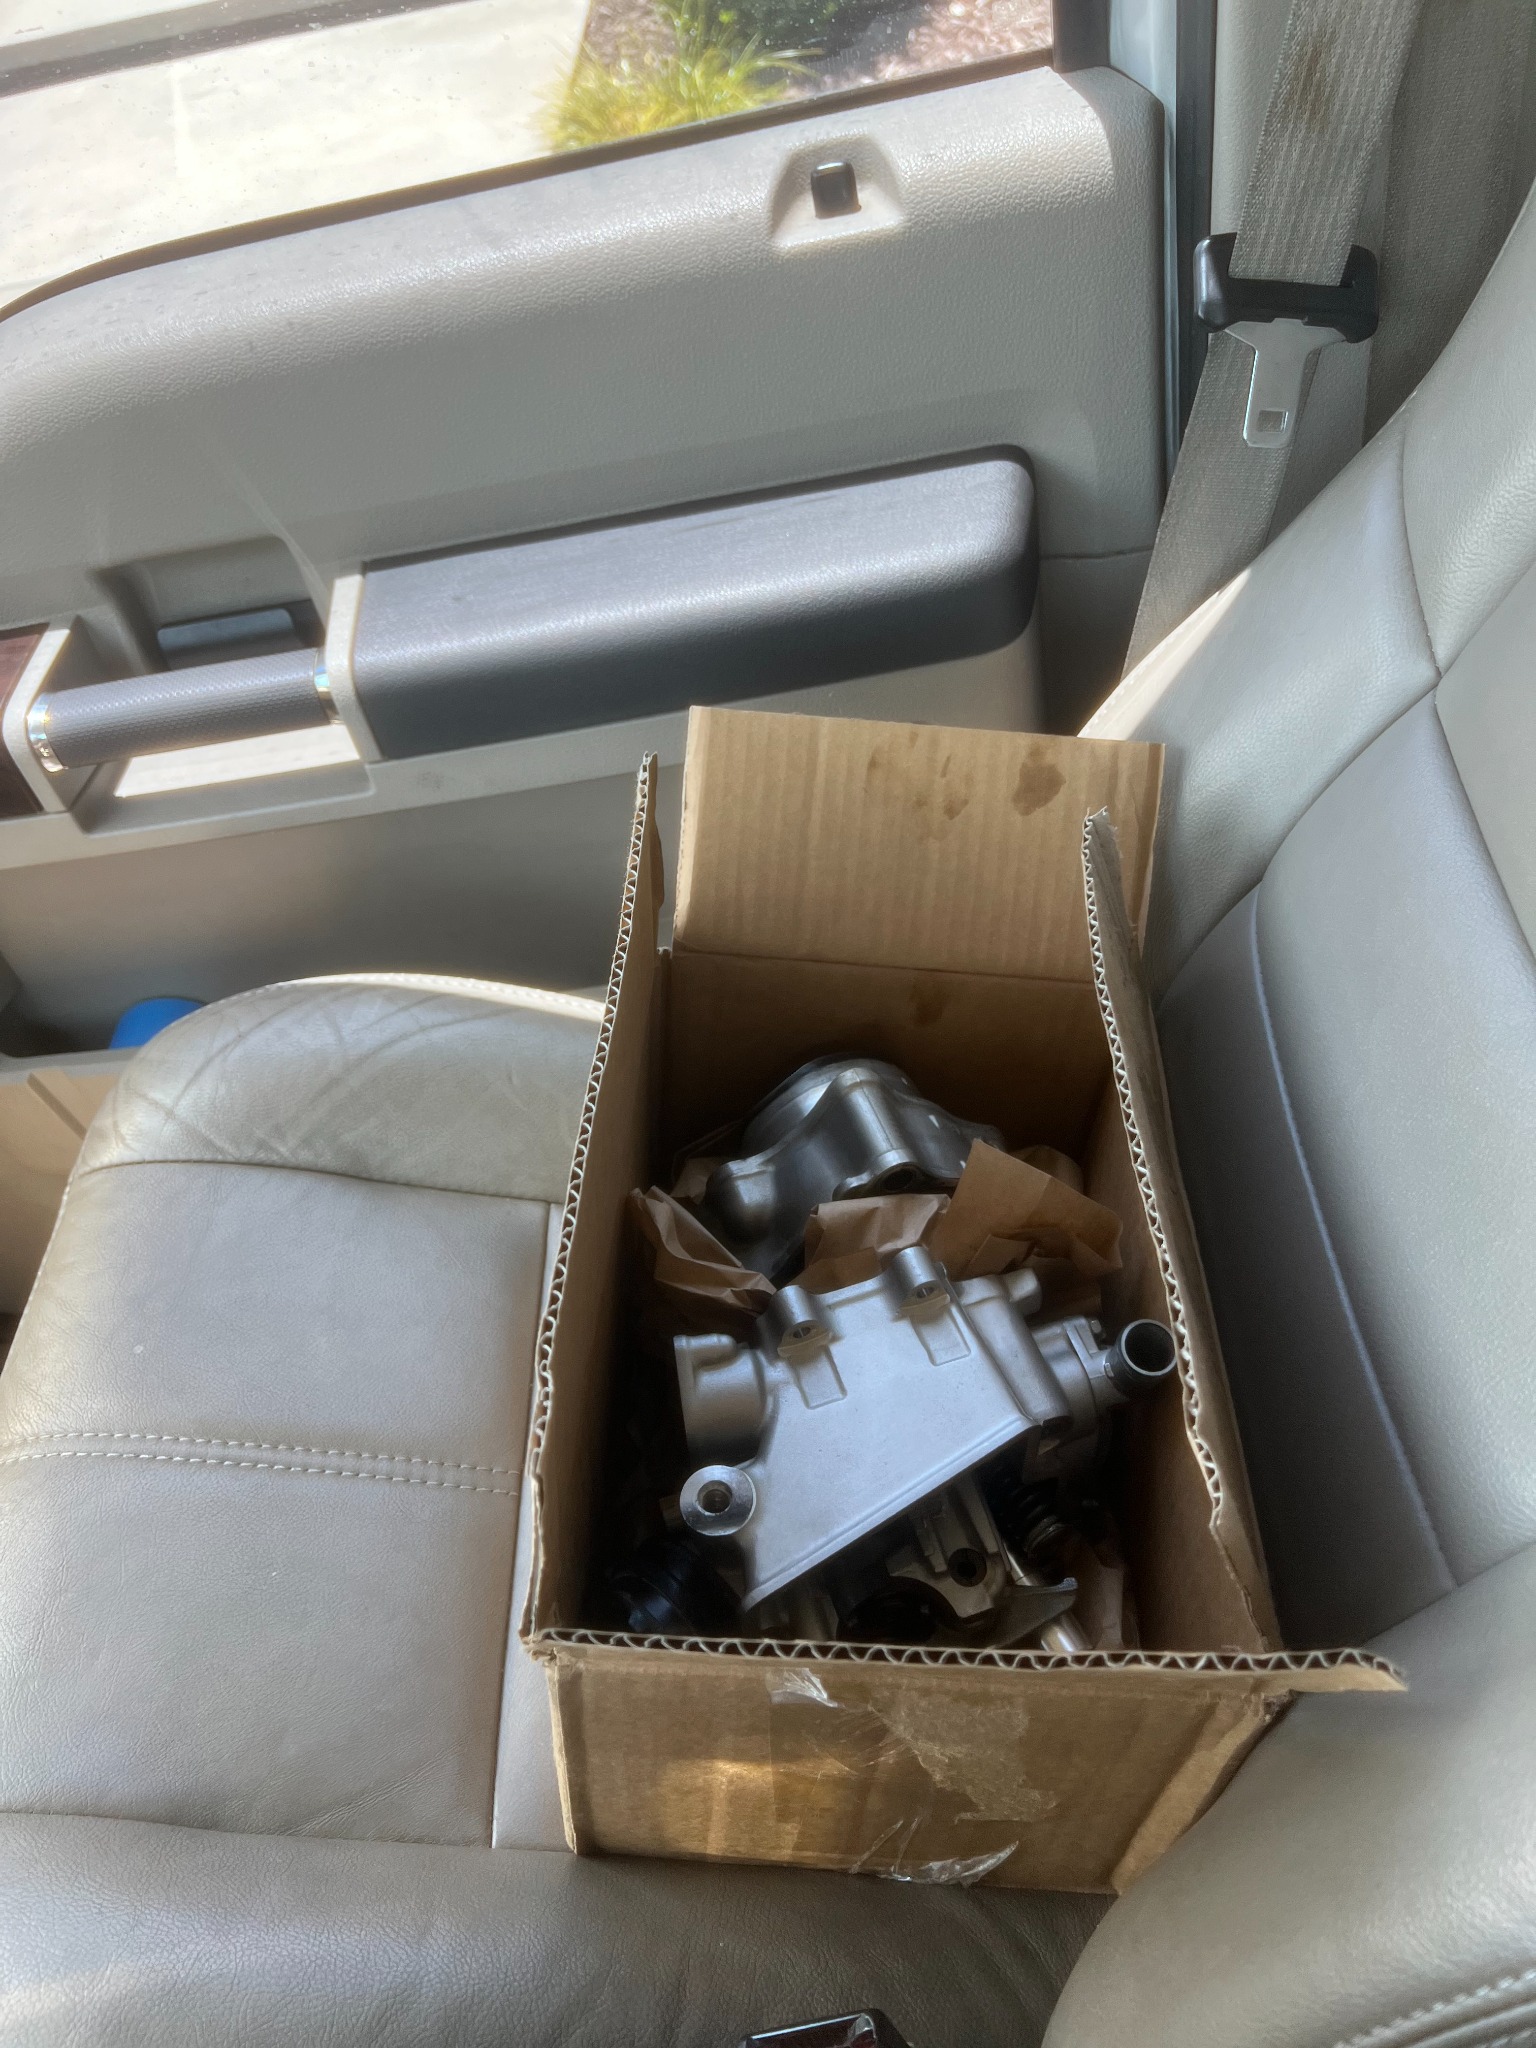
View larger ↗Bike before repairThe 2005 CRF450 before the carburetor was removed for serviceView larger ↗Parts gathered for the rebuildReceiving the carburetor components used in the repair processView larger ↗Disassembly and inspectionOpening the carburetor to access the passages, float bowl, and internal partsView larger ↗Carb body cleaned outPassages and internal areas cleaned before reassemblyView larger ↗Jets and small partsOrganizing jets, springs, and hardware during cleaning and reassemblyView larger ↗Reassembled and ready to installThe carburetor after cleaning and reassemblyView larger ↗Installed on the bikeCompleted reinstallation after the rebuild and cleaning process
REPAIR 04 / DRIVETRAIN
Clutch Replacement on 2025 Yamaha YZ250F.
Repair goal
Investigate clutch slip at higher RPM on a nearly new YZ250F.
Issue
The clutch was slipping under higher RPM and not transferring power to the gearbox correctly. It was an unusual problem to have on a new bike with only about 20 total hours on the engine.
Reasoning
The rider was on the clutch a lot and not especially forgiving on it. That caused the friction plates in the clutch pack to wear down quicker than normal and begin slipping under load.
Solution
I replaced the clutch friction plates and steel plates with new components. I also worked through the diagnosis by checking the clutch pack and springs, along with related fluid service.
Work completed / evidence
Replaced the friction and steel clutch plates; spring-pack and oil-service troubleshooting are also documented. No photos or quantitative post-repair slip data are available.
▧
Repair photosNo accompanying images were recorded for this repair.
What this work demonstrates
Mechanical troubleshooting, service-manual interpretation, precise measurement, component replacement, and hands-on experience with engines, fuel systems, and drivetrains.